
Updated: June 2021
Description: Examsoft is commonly used for both administering exams and collecting category/outcomes assessment data on students. AEFIS offers a specialized import for partners who use Examsoft and tag their exam questions to Categories. In this guide, the user will learn how to export the Category report from the legacy Examsoft Exam Taker Results report portal, and will also learn how to configure the output from the new Examsoft report portal to import into AEFIS.
Applicable to: Institution Admin, College Admin, Department Admin, Course Coordinator, Course Section Director, Instructor
Sections:
Part One: Exporting Examsoft Data from the Exam Taker Results legacy portal
Part Two: Exporting and preparing Examsoft Data from the new reporting portal
Part Three: Uploading and managing Examsoft data in AEFIS
Part One: Importing Examsoft Data from the Exam Taker Results legacy portal
Step 1: In ExamSoft run a report on an exam with the following criteria:

Step 2. Export the report results as an Excel file and name the file as needed to identify the correct course section
Part Two: Exporting and preparing Examsoft Data from the Enterprise Portal
Step 1: Generate a Student Category Performance report for your Course and/or Exam
Step 2: Export the results as an Excel or .csv file
Step 3: Open the report in Excel
Step 4: Delete the following entire columns from the report - Note that these columns are typically consecutive so these can be deleted in bulk. Starting with Column G: Raw through the Course Column:
-
Raw, Rank and Rank%
-
All Questions columns - so anything labeled as below:OR
-
Course Column:
\Step 4: Delete the following entire Rows from the report:
-
Rows 2+3, Answer Key and Item Id / Rev
Step 5: Check the report to make sure the following columns are present and contain data:
|
Student Id |
Last Name |
First Name |
|
Pts |
% |
Categories |
Categories % Pts Earned |
Note: The Categories/Categories % Pts Earned is the combination of columns that creates each question to link in AEFIS, so make sure that none of these are removed prior to import
Part Three: Uploading and managing Examsoft data in AEFIS
Step 1. Login to AEFIS
Step 2. Navigate to the Course or Co-curricular Section associated with the ExamSoft exam report that was exported
Step 3. Navigate to the Assignments menu on the Course Section
Note: You do not need to create an assignment prior to the import. The import of the Examsoft report will create the assignment(s) automatically
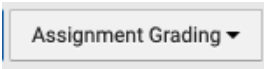
Step 4. Click on the “Assignment Grading” icon at the top right side of the screen
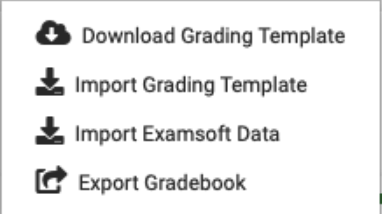
Step 5. Choose “Import ExamSoft Data”
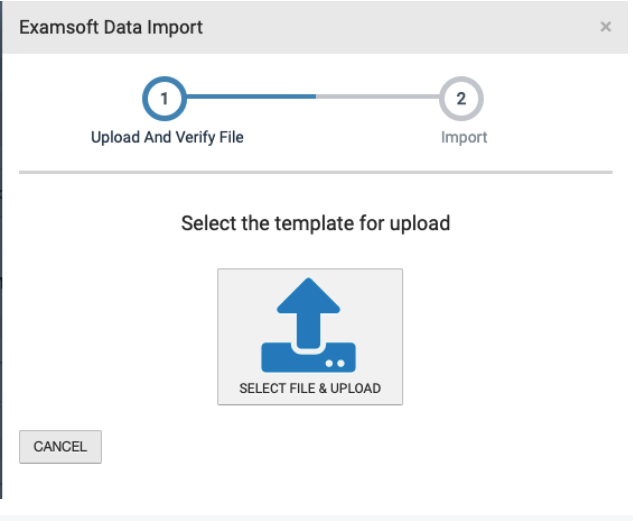
Step 6. Click the “Select File and Upload Icon” on the pop up
Step 7. Choose the ExamSoft report you exported to Excel
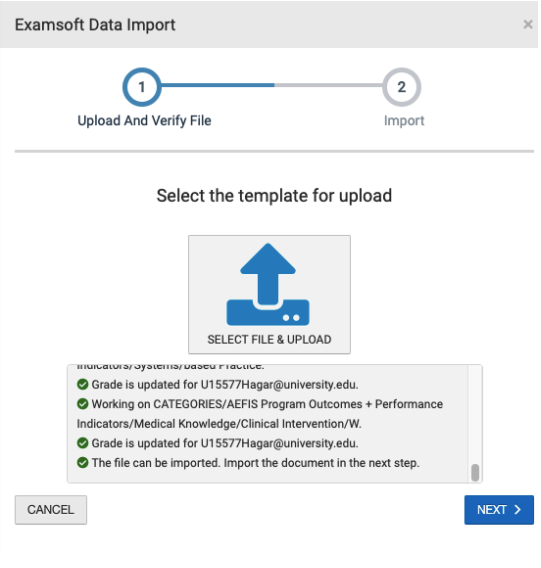
Step 8. AEFIS will then check the format of your report. Scroll down to see if the file was approved to be imported - this will be the last line of the pre-import report:
Step 9. Click NEXT if the report states the file can be imported
Step 10. Click the Import Data Icon

Step 11. Then once the import is complete, click the blue Finished button
Step 12. Each Category in your exam report will import as a separate Assignment in AEFIS, and will be available to link to student learning outcomes on the Assignment Linking page
*Note: At least two rows of student scores must be present for an effective import of student ExamSoft data.
Step 13. (Optional) You may remove any imported Categories from AEFIS after the import by clicking the blue circle with three dots next to the Category to unfold the assignment menu. A red trash can icon will appear. Click that trash can icon and you can delete the Category and the corresponding data.