
The Mapping by Outcome page can be used interchangeably with the Mapping by Course page. Mapping performed on either page will be mirrored; e.g., if mappings are performed by outcome, the Mapping by Course page will reflect the same mappings displayed by the outcome.

Video Resource
Learn about adding mapping by course by watching these quick walkthrough videos!
Product Tip
Once a program is published, edits can no longer be made unless the program is revised via the Program Homepage. When revising programs, assessments, or data collections will continue to use the current version of a program and will not reflect any edits until the program is republished via the Program Homepage. Learn more about program statuses and the Program Homepage.
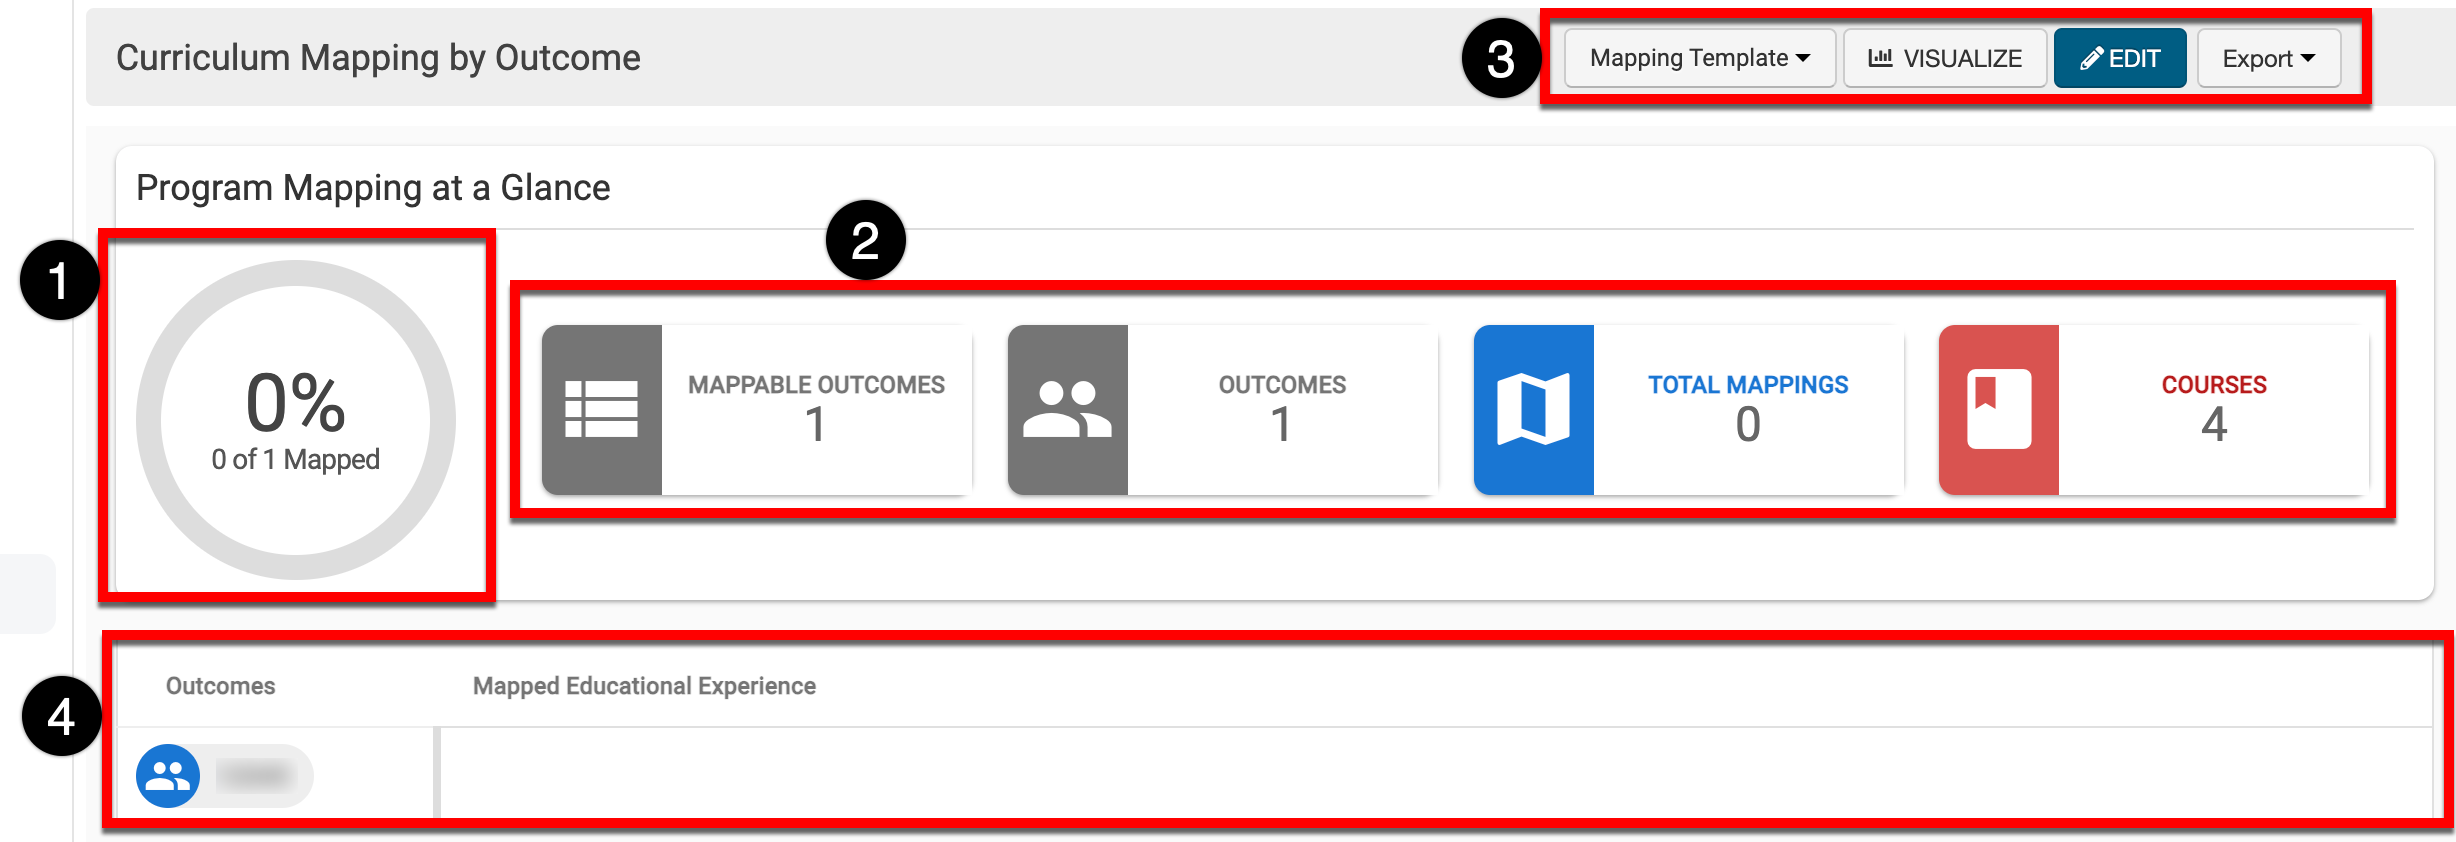
The Program Mapping at a Glance displays quick-glance information about the program’s curriculum map; a percent of mapping based on the courses and their mappings will be auto-calculated once at least one mapping exists (1) (outcomes must have at least one course mapped to be calculated). Quick-glance information about outcomes, mappings, and courses (2), Various functions are available via the top buttons (3); curriculum mapping can be done in bulk via a mapping template or individually via drag-and-drop by clicking Edit, and visualization and export options (PDF and print) are available. A view-only display of a program’s curriculum map is also available (4).
Product Tip
Courses not included in a program should not be mapped to outcomes in a program. If links are created between course assignments and Course Learning Outcomes (CLOs), the platform will automatically enable a course assessment, and courses not associated with a program will automatically be assessed.
Curriculum Mapping via Template
-
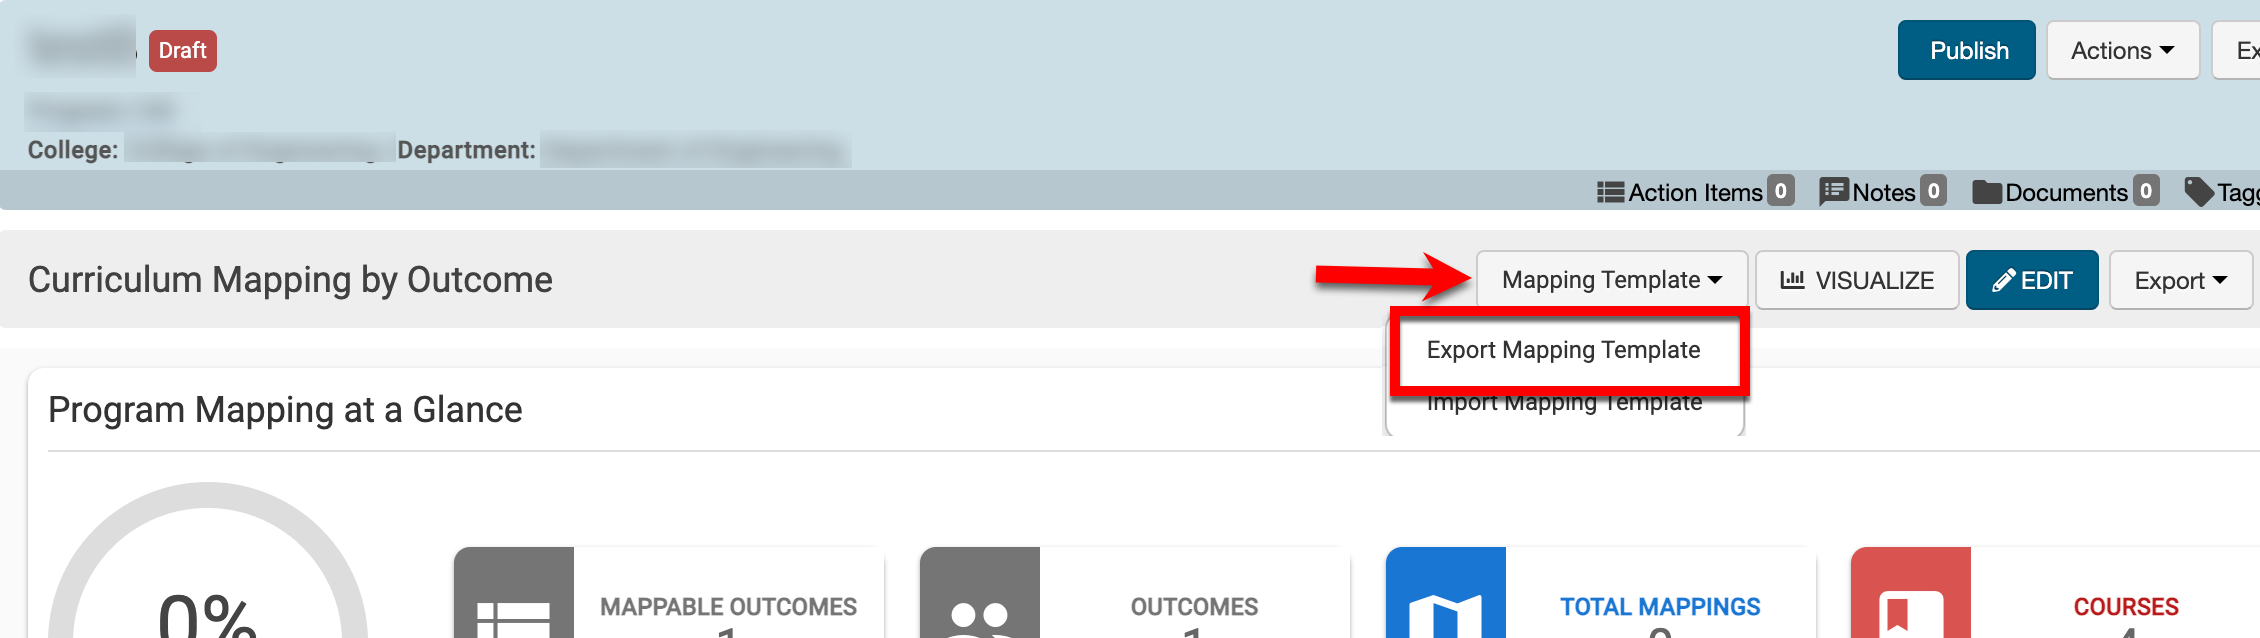
To perform curriculum mapping in bulk via a template, navigate to Program Homepage > Mapping by Course and select Export Mapping Template from the Mapping Template drop-down.
-
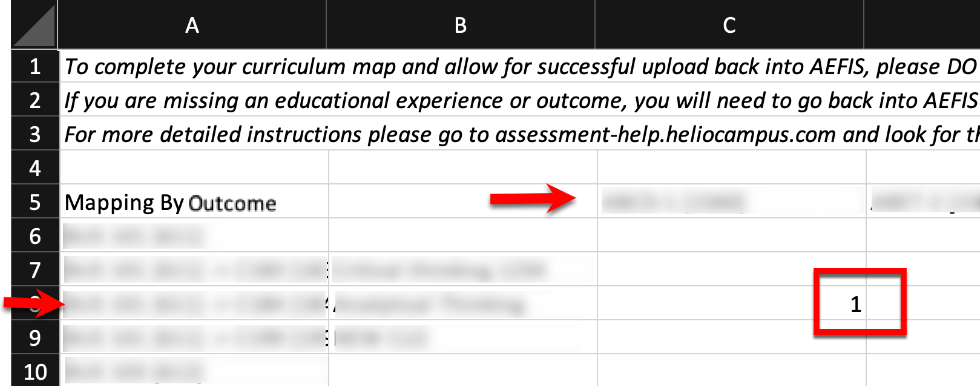
When mapping by outcome, the exported template will display the outcomes row by row, followed by courses and subsequent CLO if they were added to the course available for mapping in each column.
-
To map to a course, enter the developmental level key. In the example below, the course in row 8 will be mapped to the outcome in column C upon import of the template.
-
-
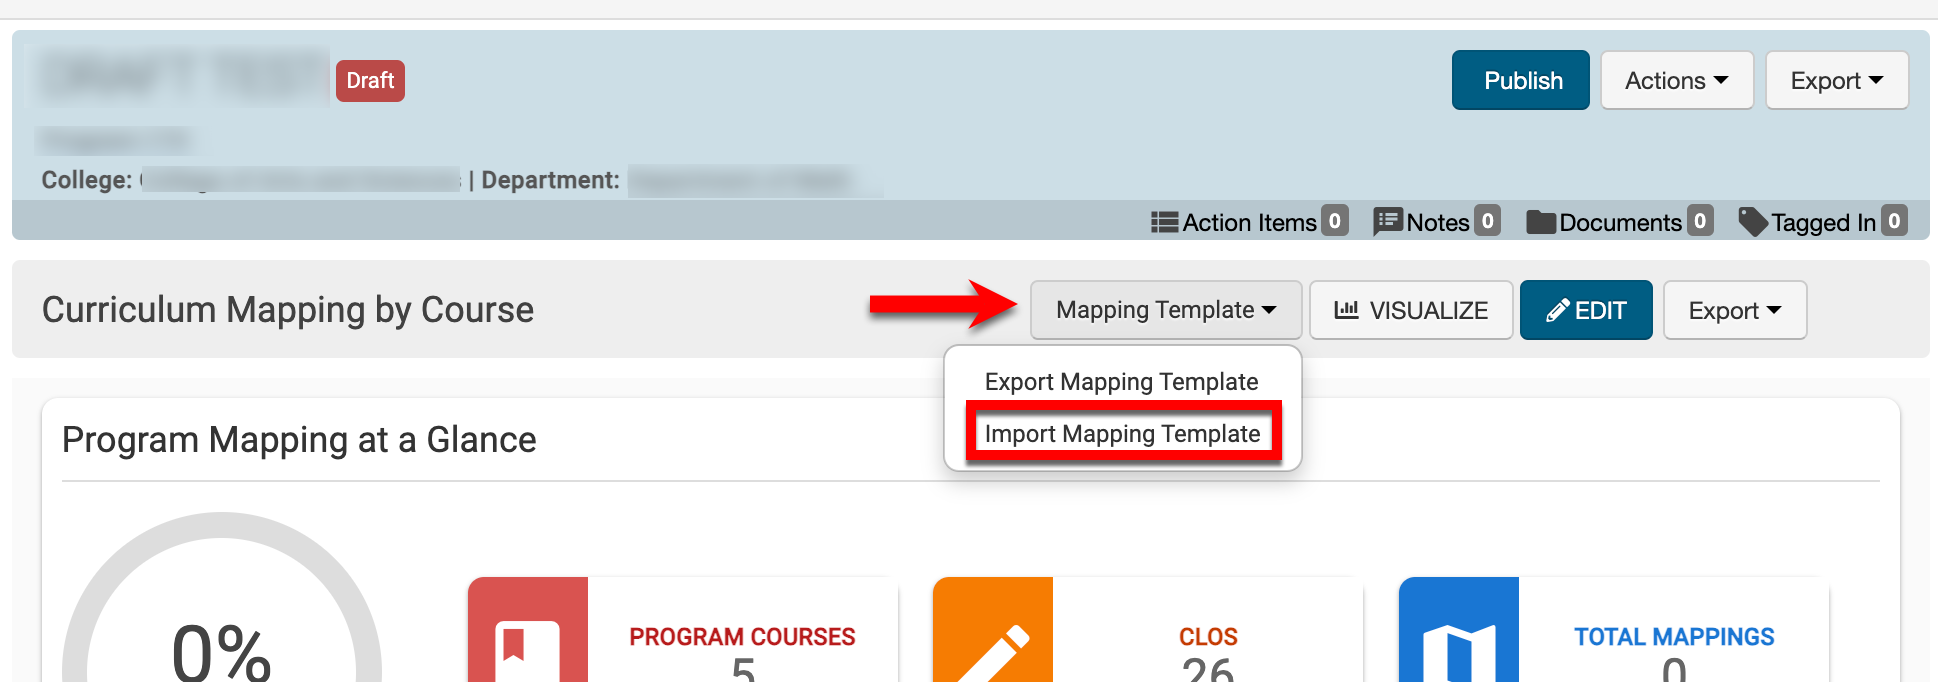
Once mappings have been entered on the template, navigate to Program Homepage > Mapping by Course and select Import Mapping Template from the Mapping Template drop-down.
-
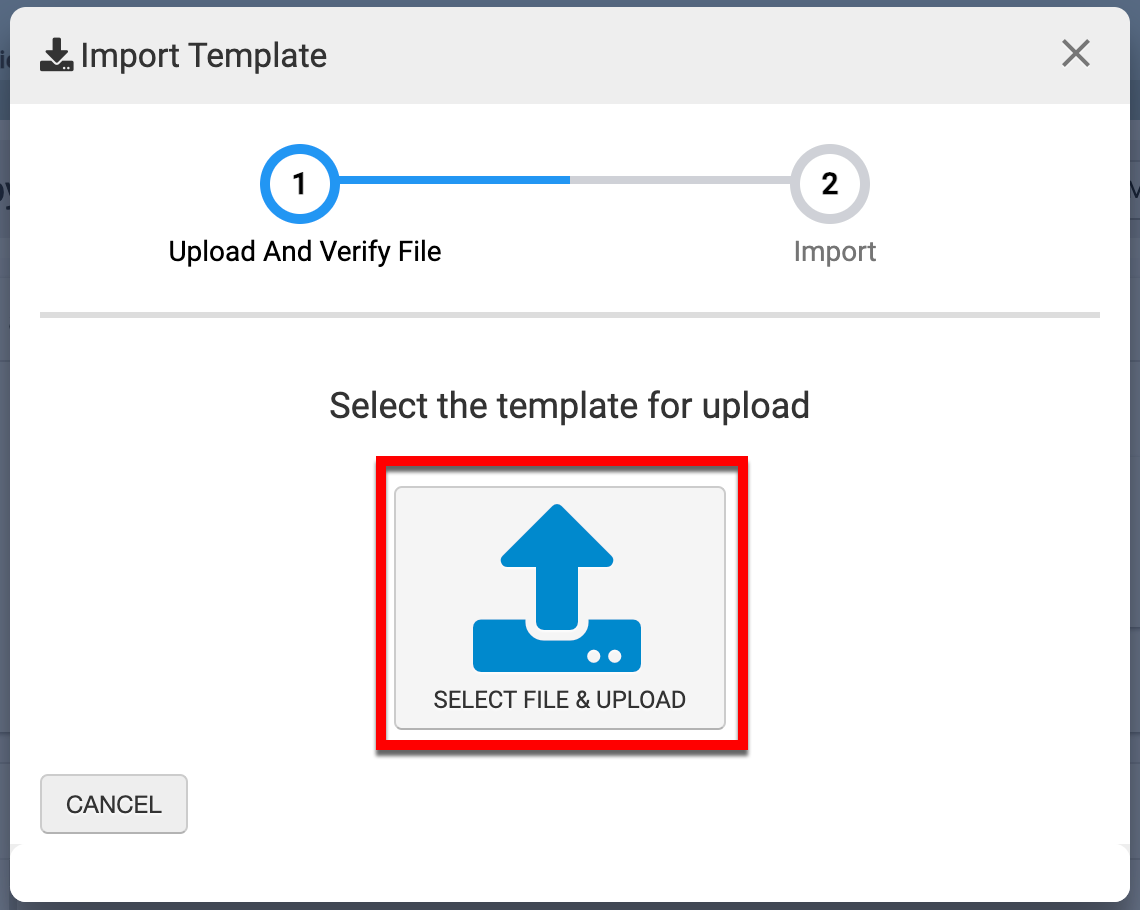
Via the Import Template pop-up, click Select File & Upload to search for and select the completed mapping template. During upload, the platform will automatically perform a verification process to ensure the template is valid for import. If any errors exist, they will display, and once corrected, the template can be re-uploaded for new verification.
-
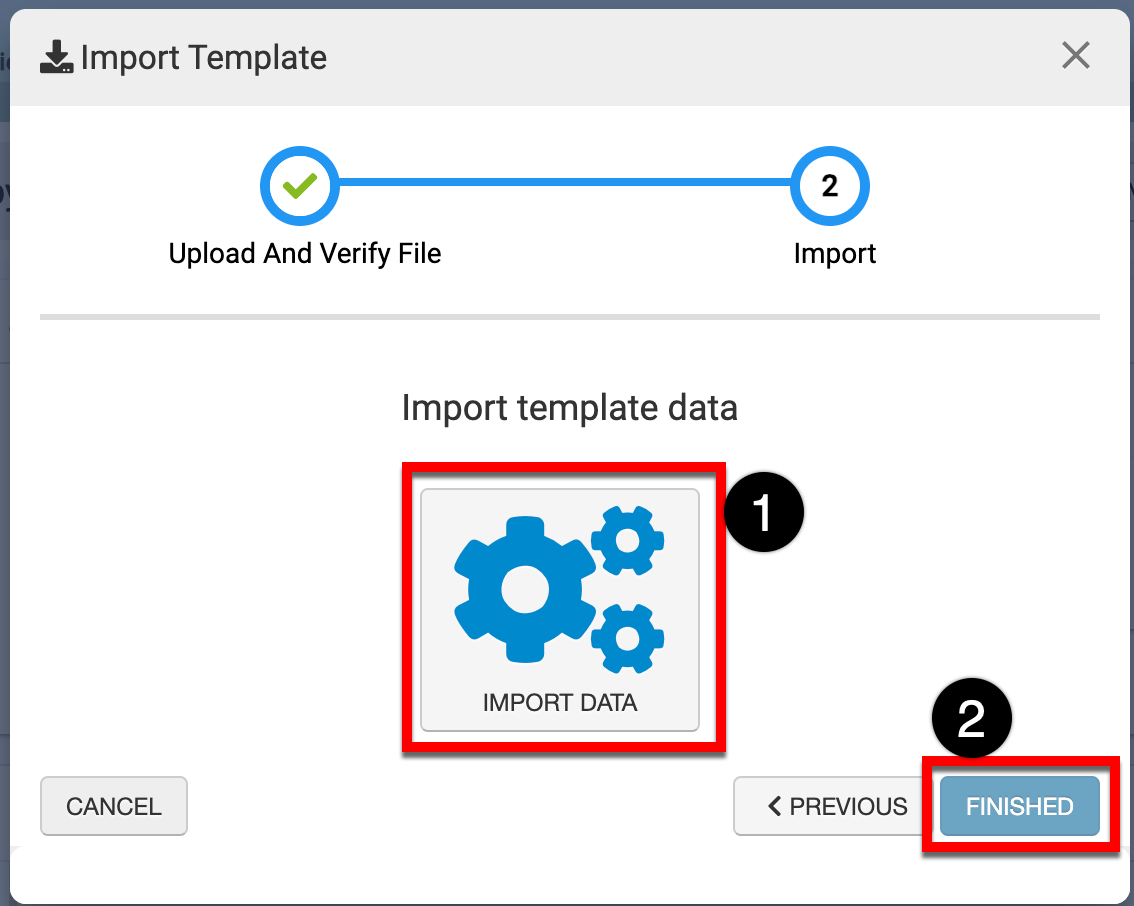
Once uploaded, click Import Data (1) to import mappings to the program. When the import is complete, click Finished (2) to complete the mapping template import process. The platform will refresh once finished, and the import mappings will be reflected.
Curriculum Mapping via Platform Interface
-
To perform curriculum mapping via the platform interface, navigate to Program Homepage > Mapping by Outcome and click Edit.

-
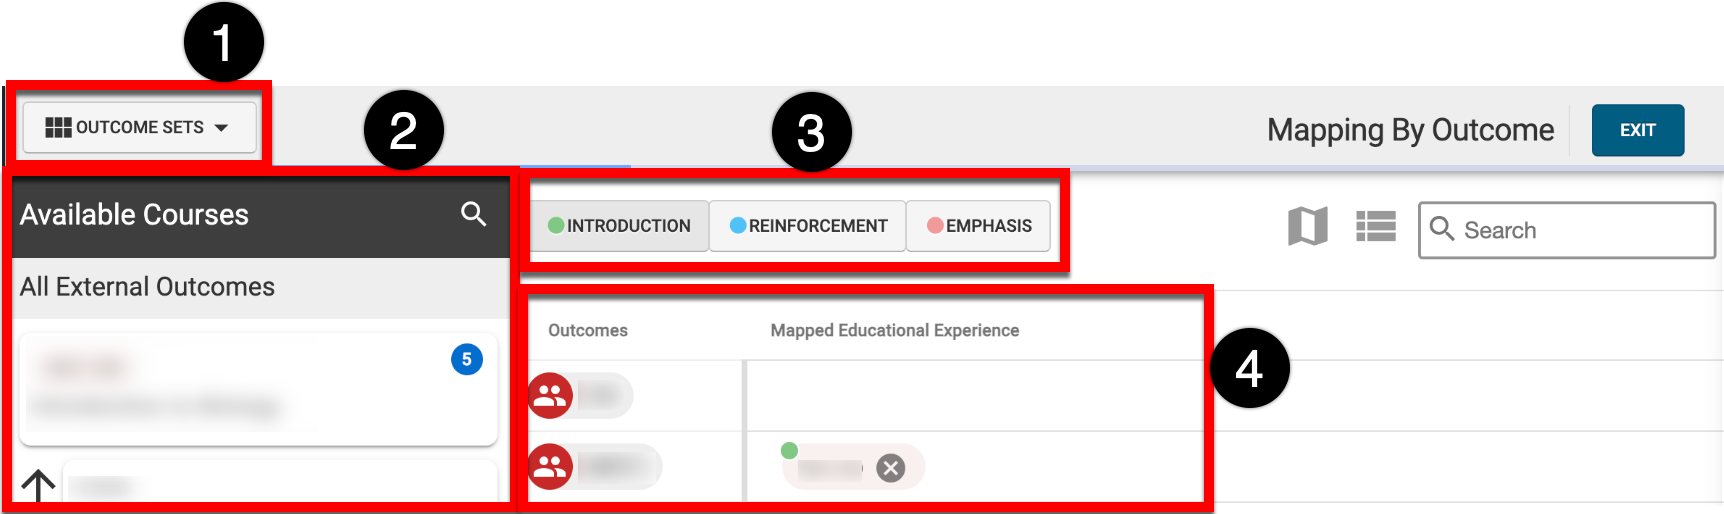
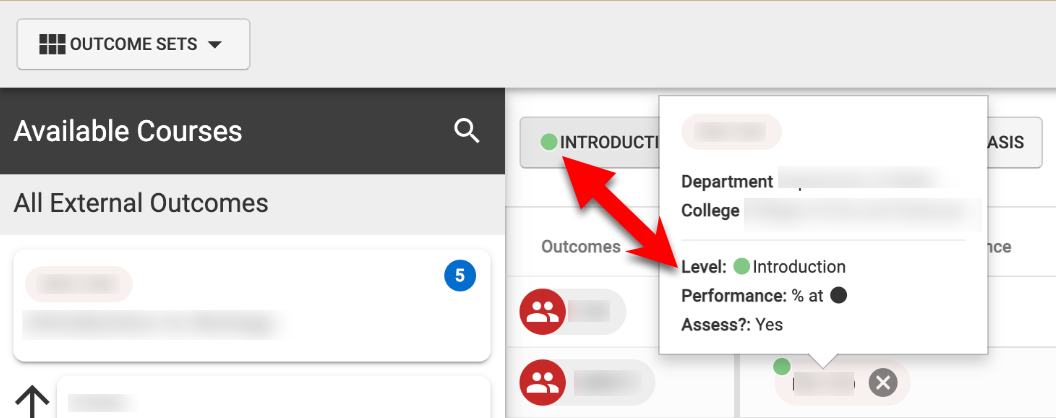
By clicking Outcome Sets (1), outcome sets available for selection (2) can be filtered by developmental level. By selecting the button for each level (3), the developmental level for mappings can be defined; in the screenshot below, the default level titles are shown. Once mappings exist, developmental levels are color-coded. Mappings can be hovered over for quick-glance information or clicked for further configuration options (4).
-
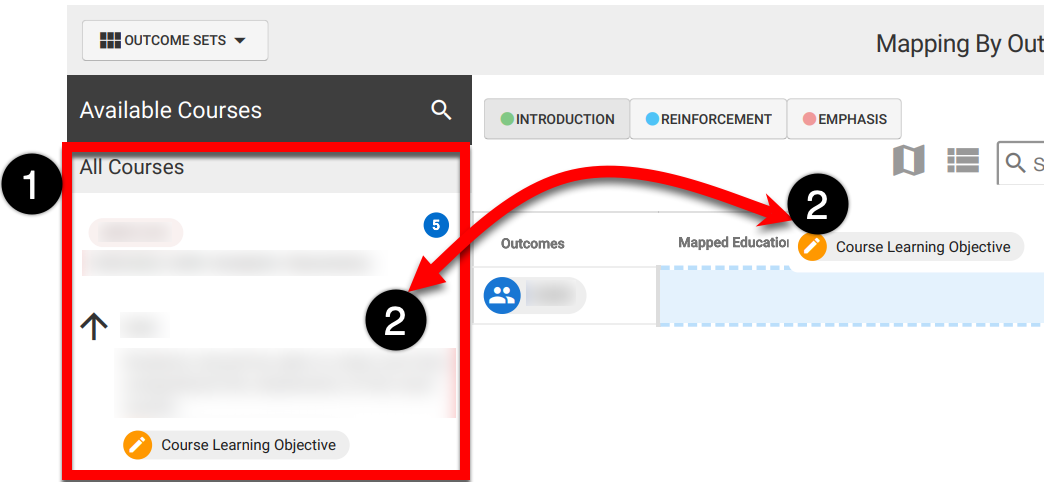
To map a course or CLO to an outcome, click and hold a course or CLO (1) and drag it to the row of an outcome (2). In the example below, a CLO is being dragged and dropped to the outcome at the Introduction developmental level.
-
Once a course or CLO has been mapped, the development level can easily be identified by the color-coded levels, and hovering over a mapped course or CLO will display quick-glance information.
-
-
Mapped courses or CLOs can be clicked to open the Mapping drawer.
-
If performance expectations have not been locked at a higher level of the Organizational Hierarchy, the expectation for the mapping can be configured for individual courses or CLOs as needed.
📙 Knowledge Base Tip: Learn more about locking Organizational Settings.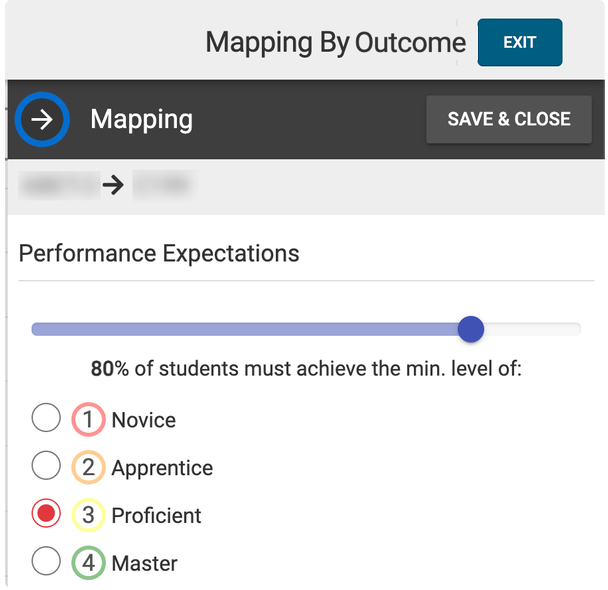
-
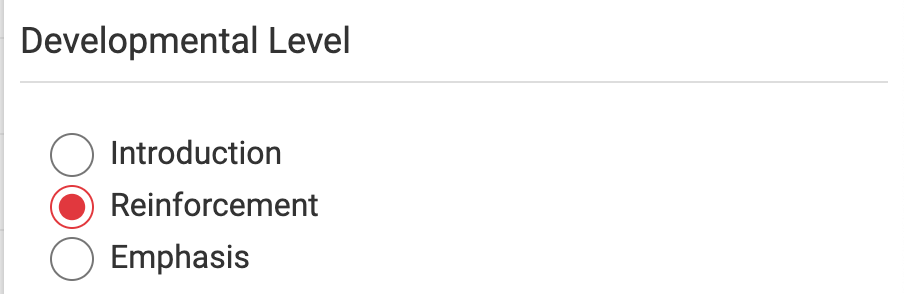
Developmental Levels can be adjusted by selecting a different level in the Mappings drawer.
-
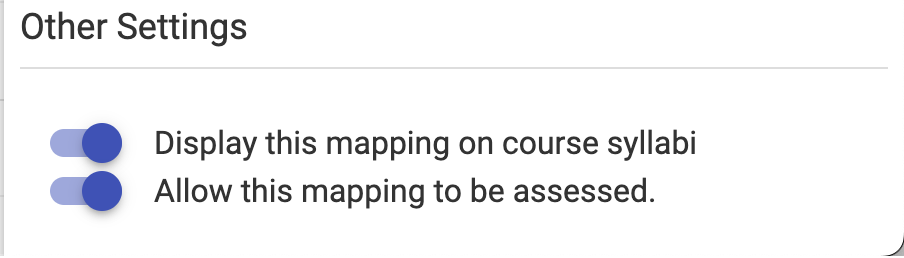
The Mappings drawer contains settings related to course syllabi and assessment:
-
Display this Mapping on Course Syllabi: When enabled, the mapping will display on course syllabi.
-
Allow This Mapping to be Assessed: When disabled, the mapping will not be assessed as part of the program assessment.
-
-
-
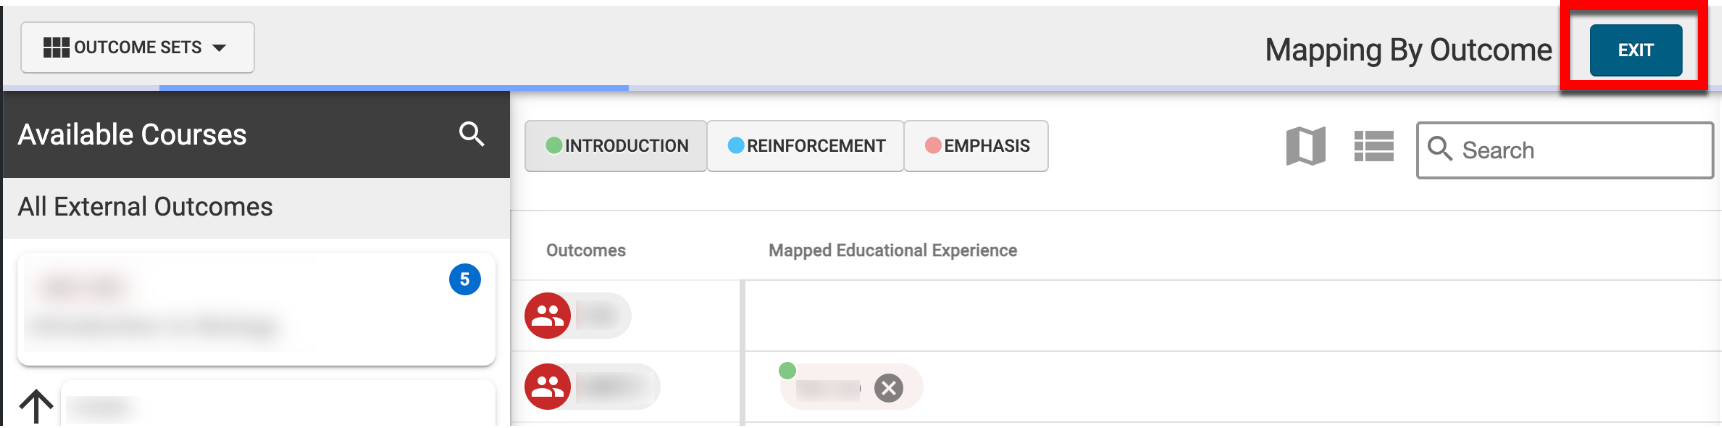
To complete mapping, click Exit to return to the Mapping by Outcome page.
📔 Additional Resources