
📙 Knowledge Base Tip: Before creating any user accounts, reviewing the User Accounts article is recommended.
Role delegation is tied into many of the platform’s features and allows someone access to a user’s account to complete work on behalf of that user. Users who have been delegated a role higher than their own role will have access to all platform features that the delegator has - including surveys and assessment results if applicable.
-
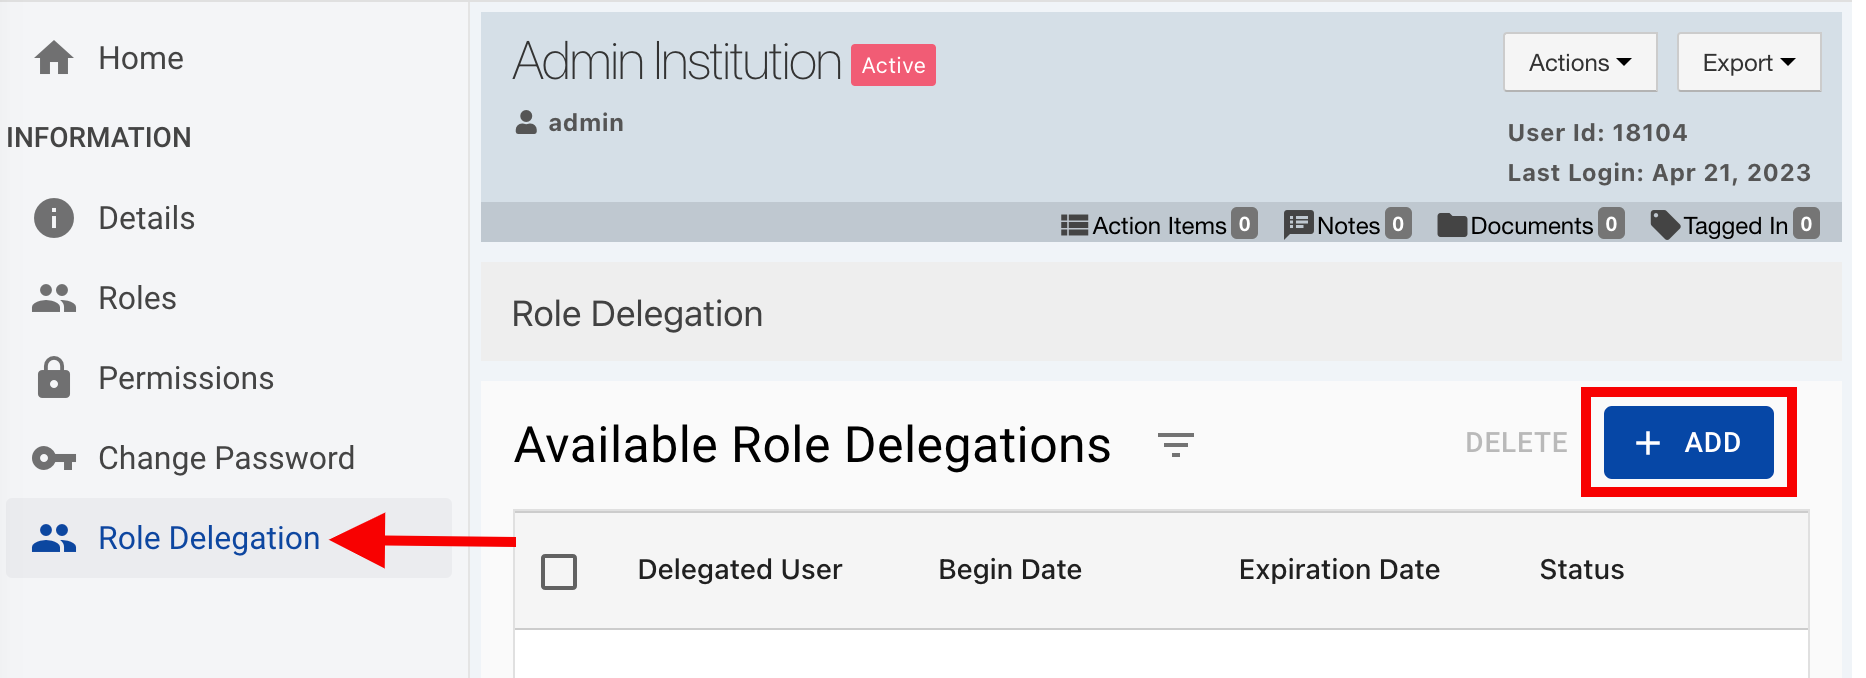
To delegate their role(s), the delegator should navigate to the Role Delegation section of their User Account Homepage and click +Add.
-
Via the Add pop-out, utilize the Select a User drop-down to locate the user to whom the role(s) are being delegated and enter the details of the delegation.
Note: The Begin Date and Expiration Date fields are optional and can be left blank if permanent access is being delegated.
-
🔎 Example
I am a Dean who has College Admin and Program Coordinator roles, and I need to delegate my platform roles to Jane Doe, my Graduate Assistant, for a limited time to perform work on my behalf.
-
Select a User: Jane Doe
-
Begin Date: 05/01/2023
-
Expiration Date: 07/01/2023
-
Notes: I delegated the role to Jane so she can perform work on my behalf while I’m on vacation.
-
Comments: Hi Jane! Thanks for helping me out - please get in touch with John Doe if you have any questions.
In this example, Jane has been delegated the Dean’s College Admin and Program Coordinator platform access in addition to her preexisting roles. Jane will have this access/role delegation for a defined period, and after 07/01/2023, she will no longer have it.
When applicable, the Notes and Comment to Delegate fields can be utilized:
-
Notes: This can be used to explain why delegated authority was provided.
-
Comment to Delegate: An informative message can be entered to display to the delegated user upon first login to the platform after delegation.