
After creating a syllabus template, sections are added to the template, and items are then added to the sections. Template sections and items work together to define both the structure and content of a syllabus template. Sections are high‑level headers, such as “Course Information” or “Academic Policies,” that organize a syllabus for clarity and consistency.
Within each section, template items hold the actual data that appears on the syllabus. Some items are populated automatically from the institution’s platform data, while others are completed manually. Requirement settings and edit restrictions over how and where items can be completed, allowing institutions to balance standardization and enable further control over downstream template usage.
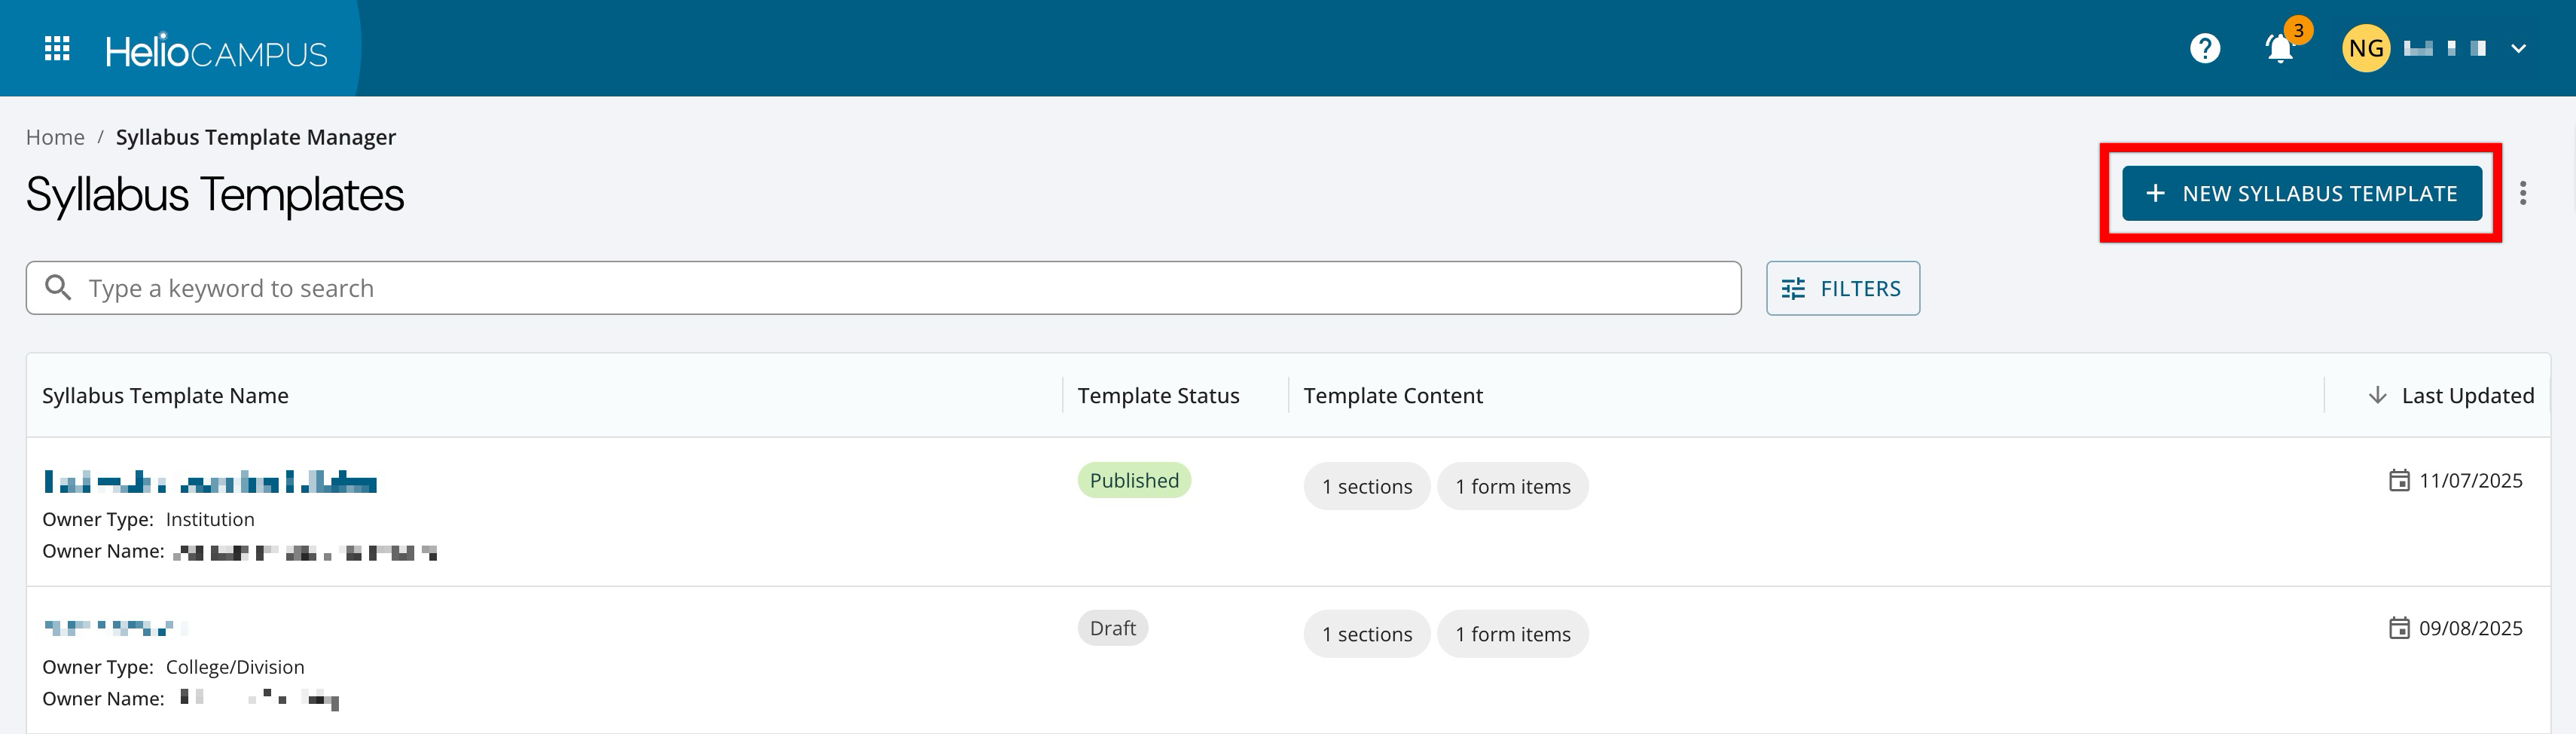
Create a Syllabus Template
-
Navigate to Main Menu > Educational Experiences > Syllabus Templates and click +Add Syllabus Template.
-
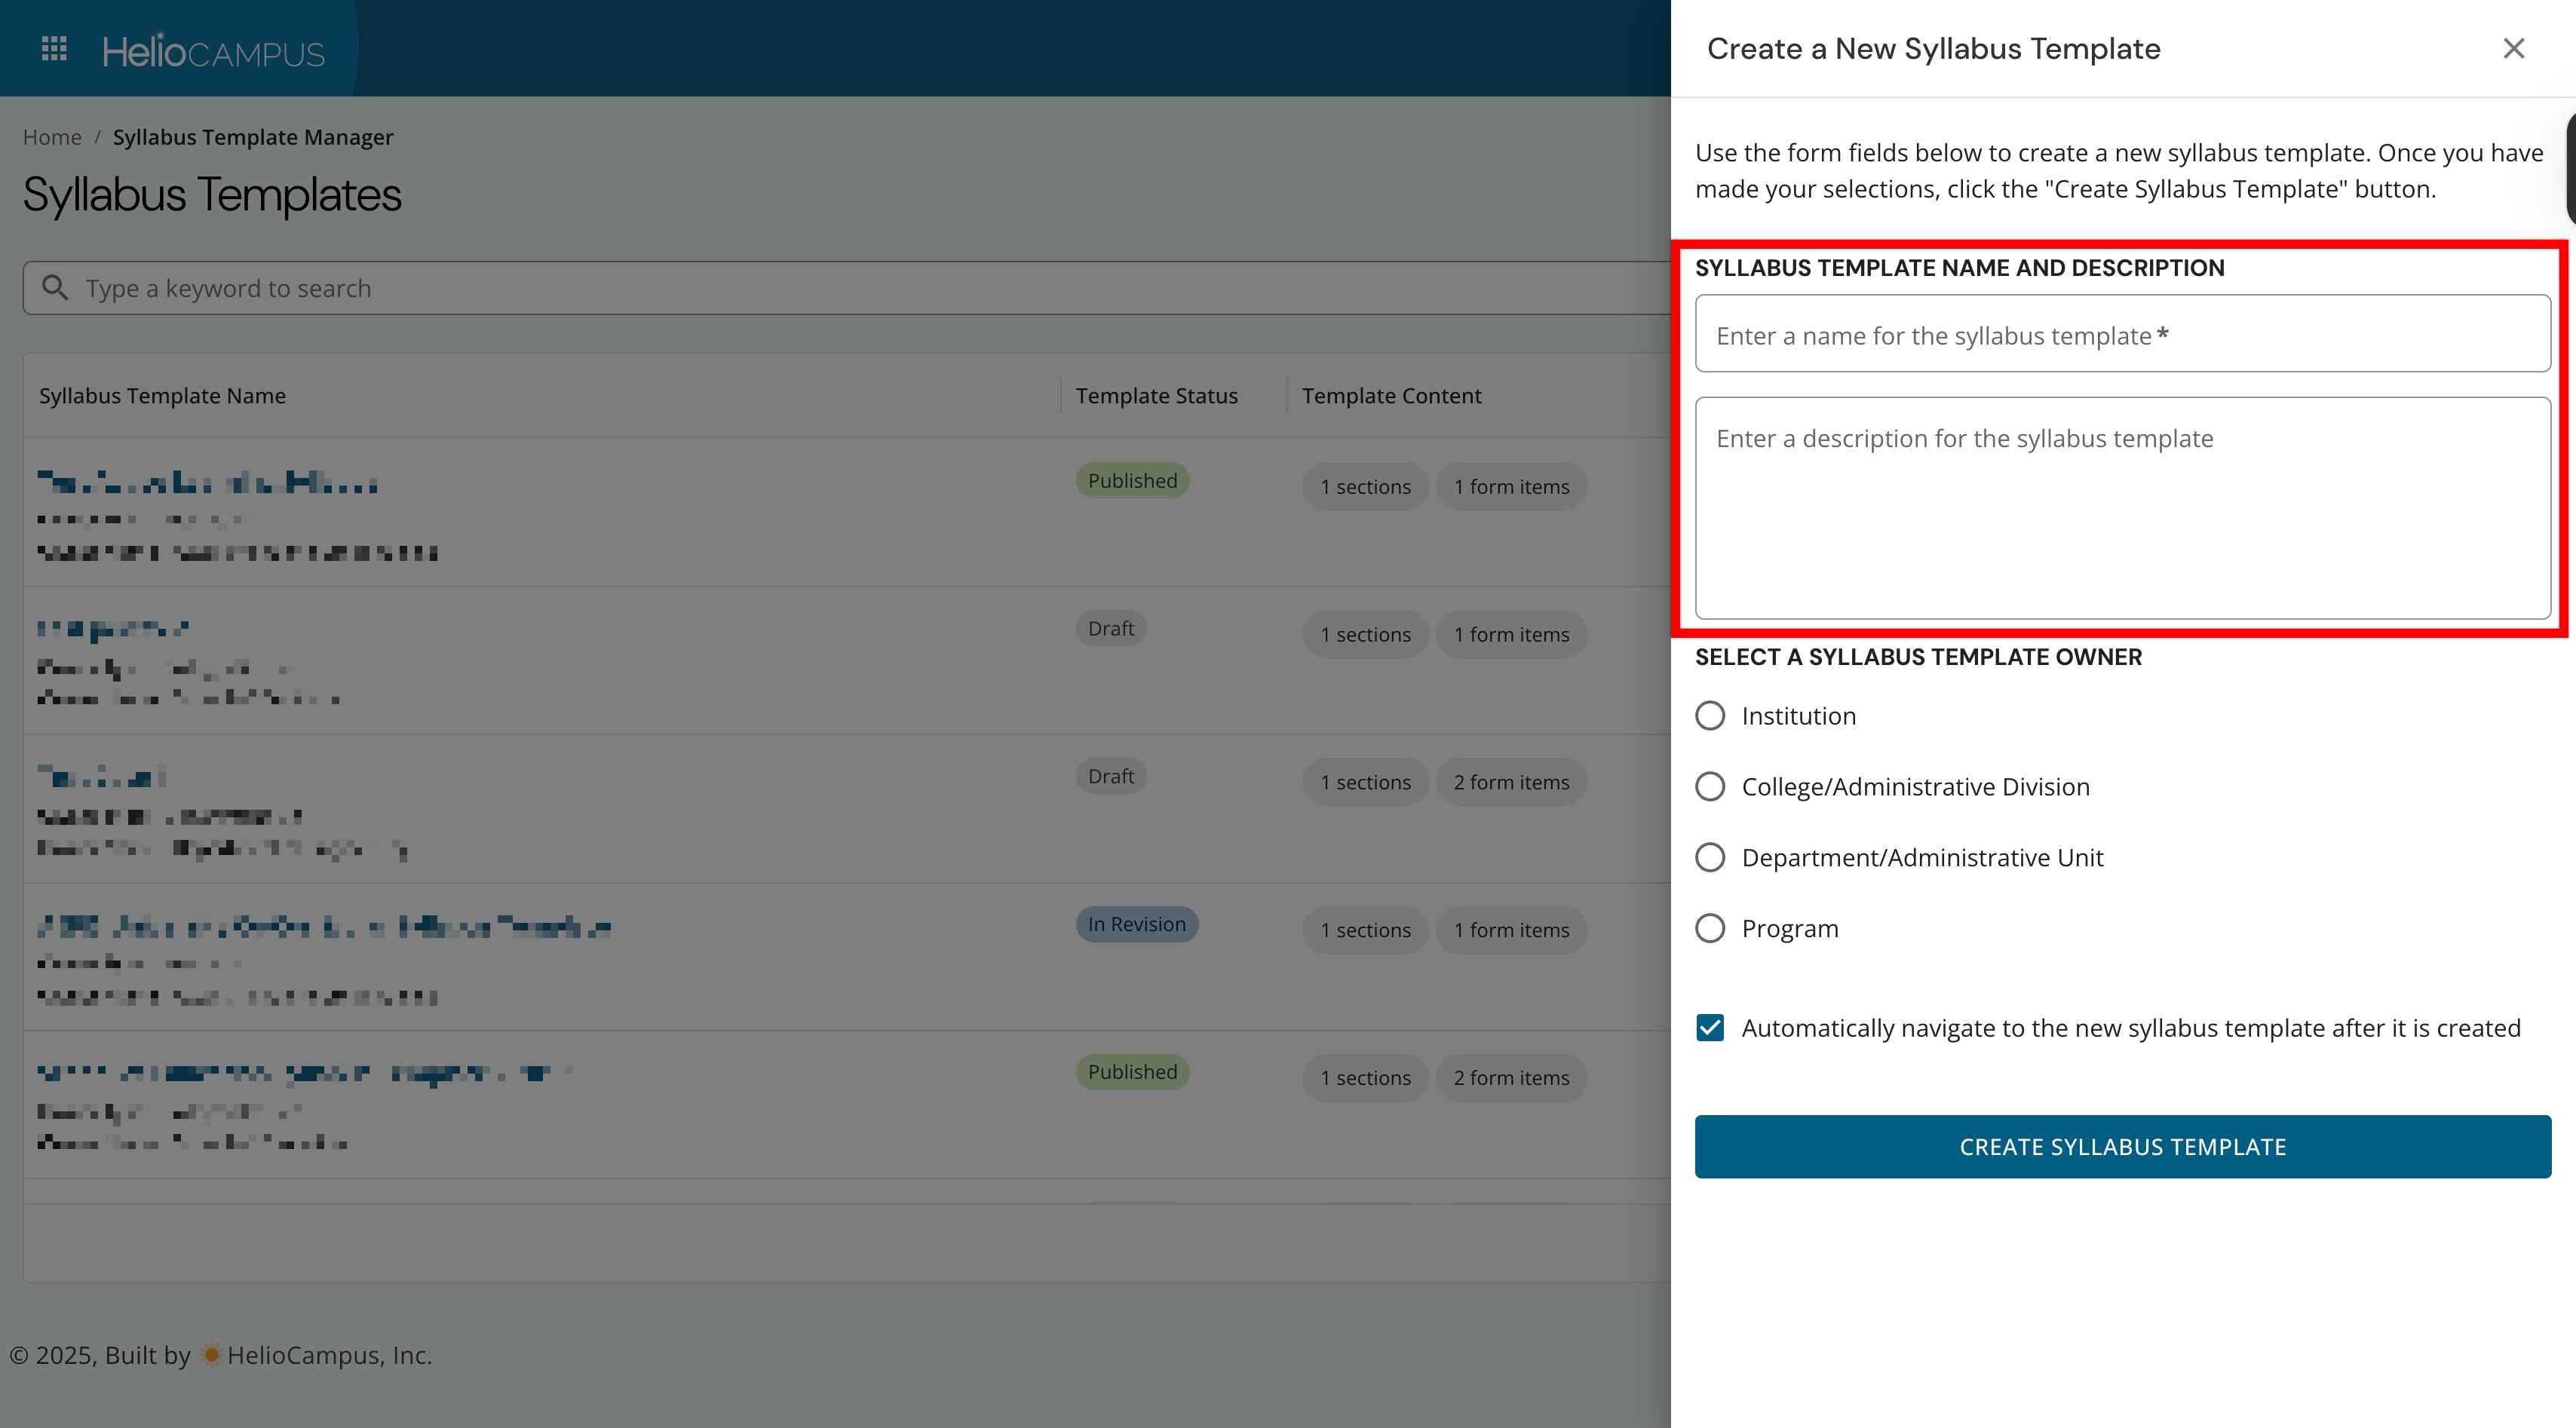
Enter a name for the template and, optionally, a description. When an owner is selected, the template can only be used by the owning hierarchy level or program.
-
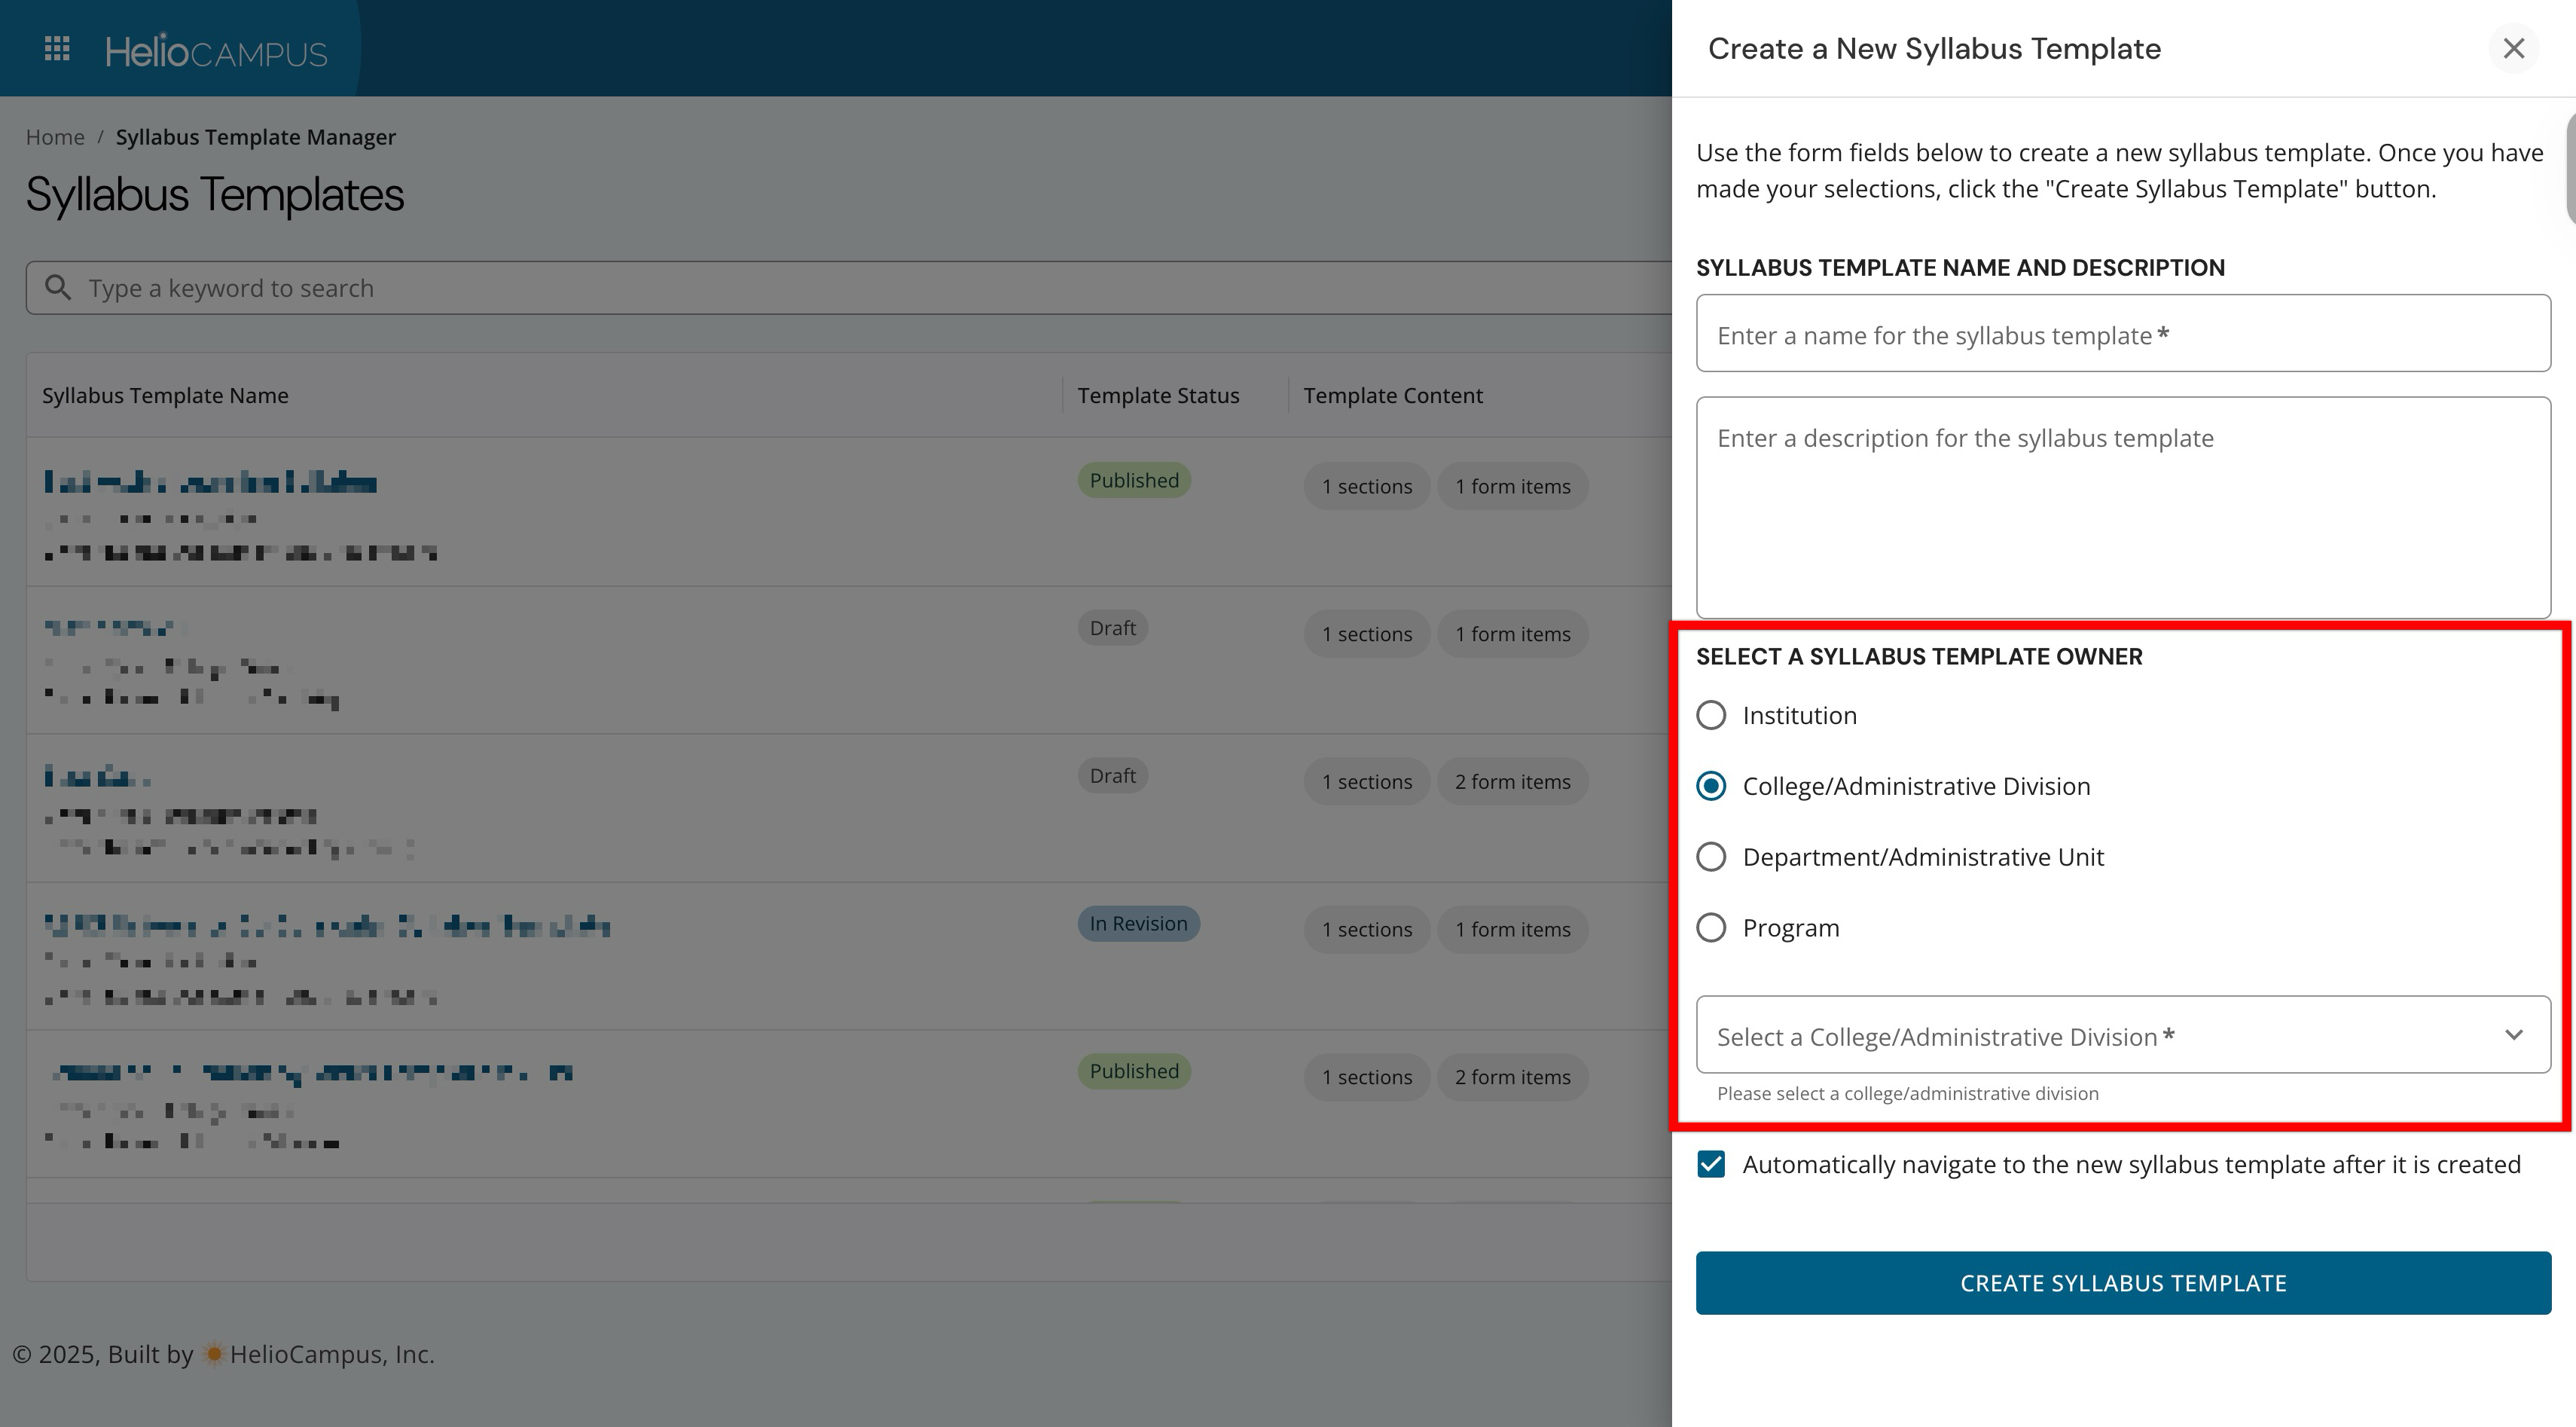
Select a hierarchy level or a program as the owner type. The search field will display options associated with the hierarchy level or programs available at the institution, and only one owner can be selected.
-
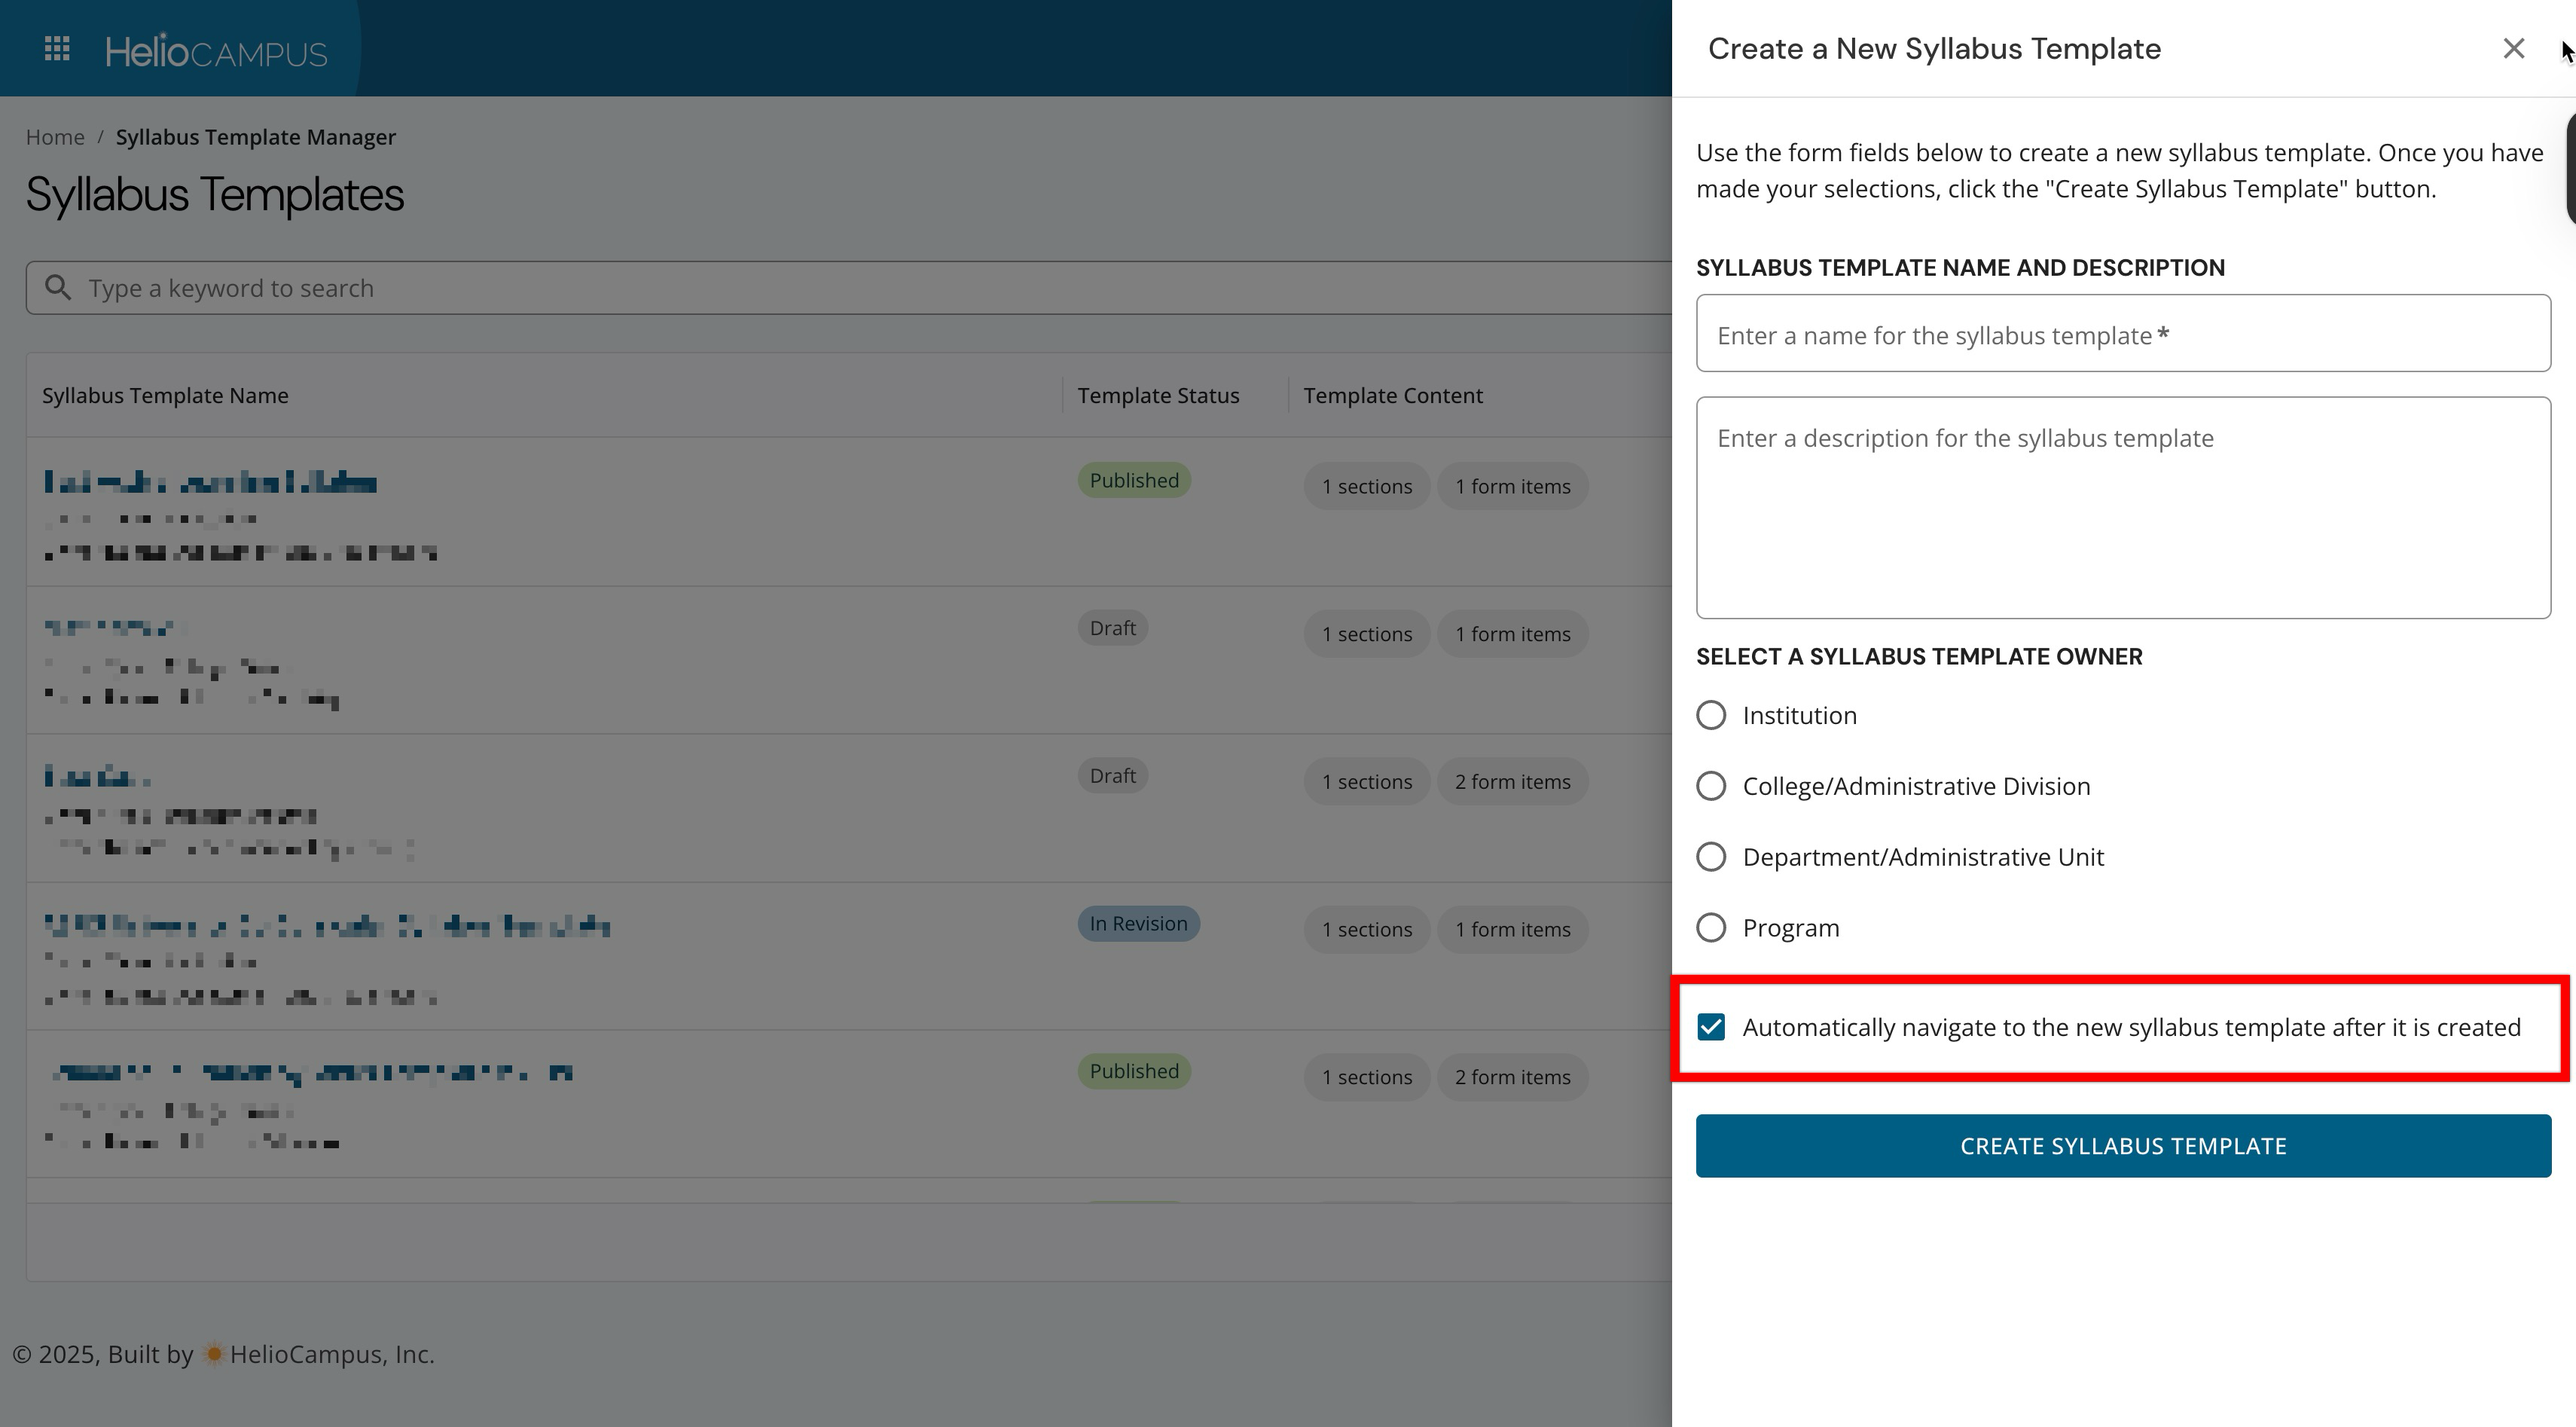
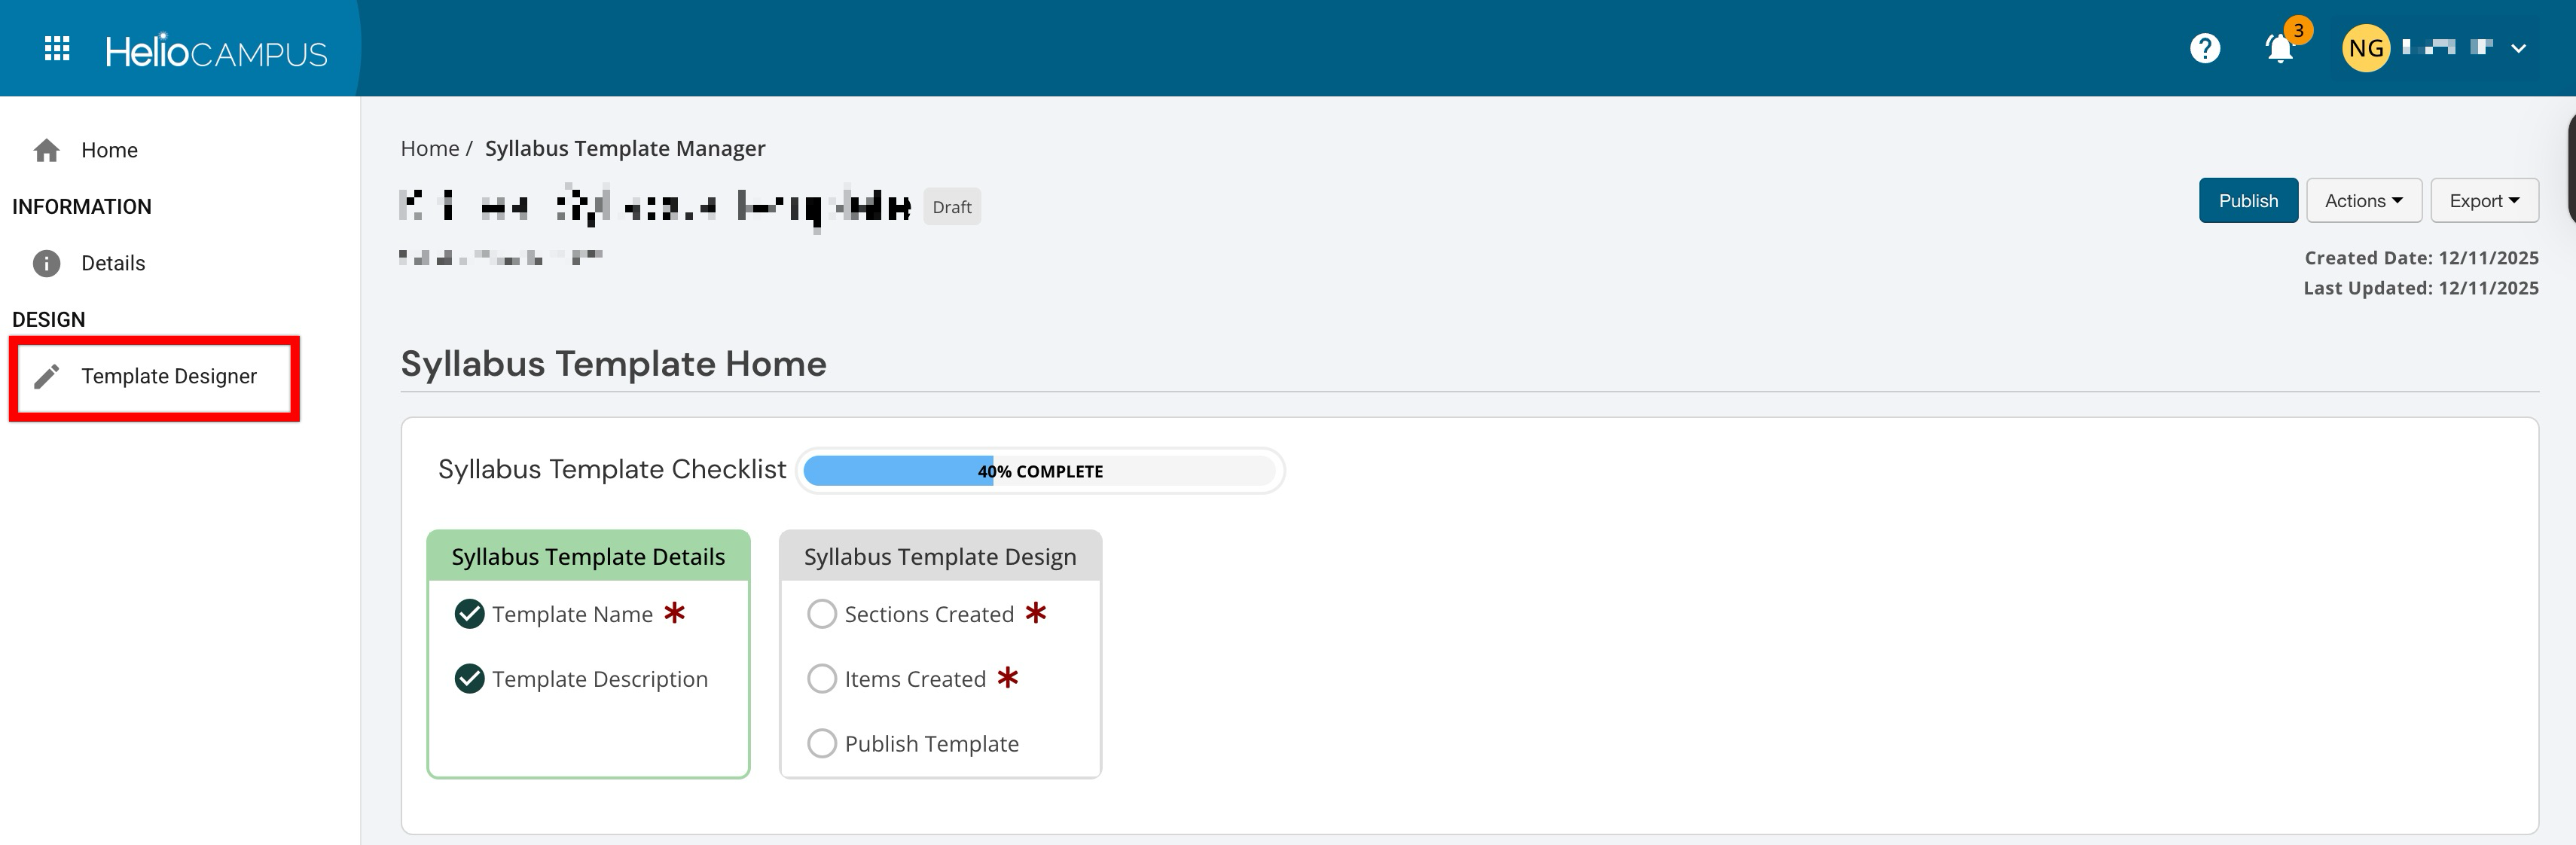
By default, the Syllabus Template Homepage will automatically display once the template is created, and the new template will be in Draft status. When disabled, the template will be created, and the manager will reload to display the new template in Draft status.
-
-
Clicking Create Syllabus Template will create a new template in Draft status. Before templates are published, sections and items must be added with the Syllabus Designer accessed from the left-hand menu of the Syllabus Template Homepage.
Syllabus Template Sections
-
To add a section to a Syllabus Template, click +Section in the Syllabus Designer.

-
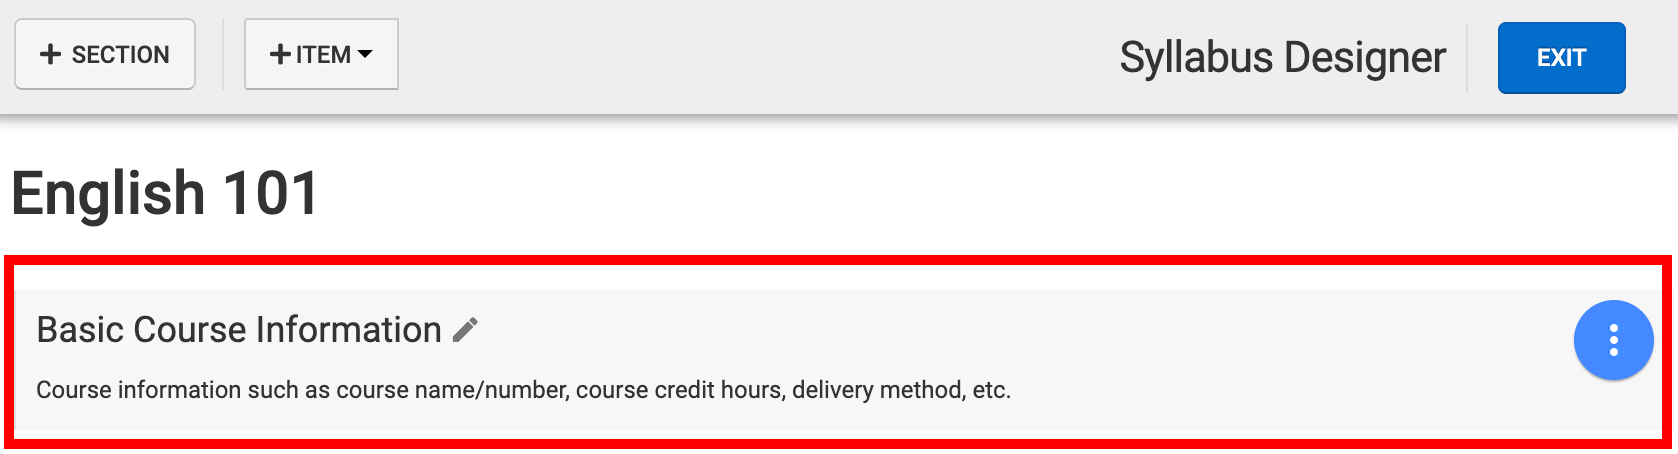
Via the +Add Template Section popup, enter a name for the section (for example, Basic Course Information) and optionally, a description can be added.
-
Once a section has been added to a Syllabus Template, template items can then be added to the section to capture and display syllabus details.
-
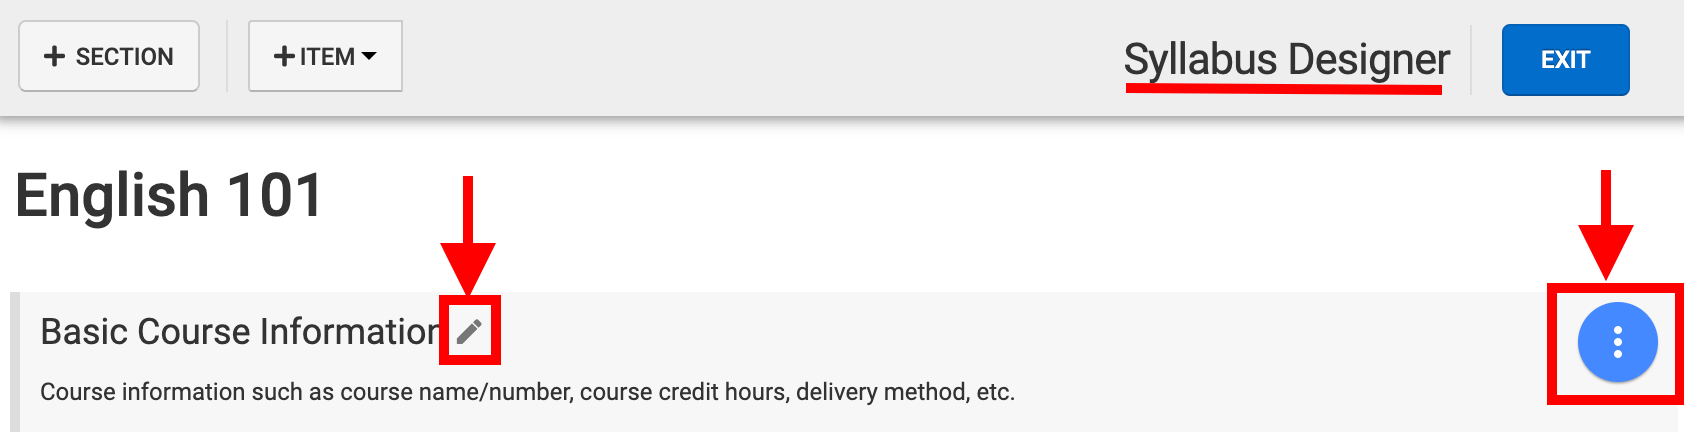
The Section Name and Section Description fields can be edited by clicking the Pencil icon. Sections can be rearranged or deleted by hovering over the kebab menu for the section.
-
-
-
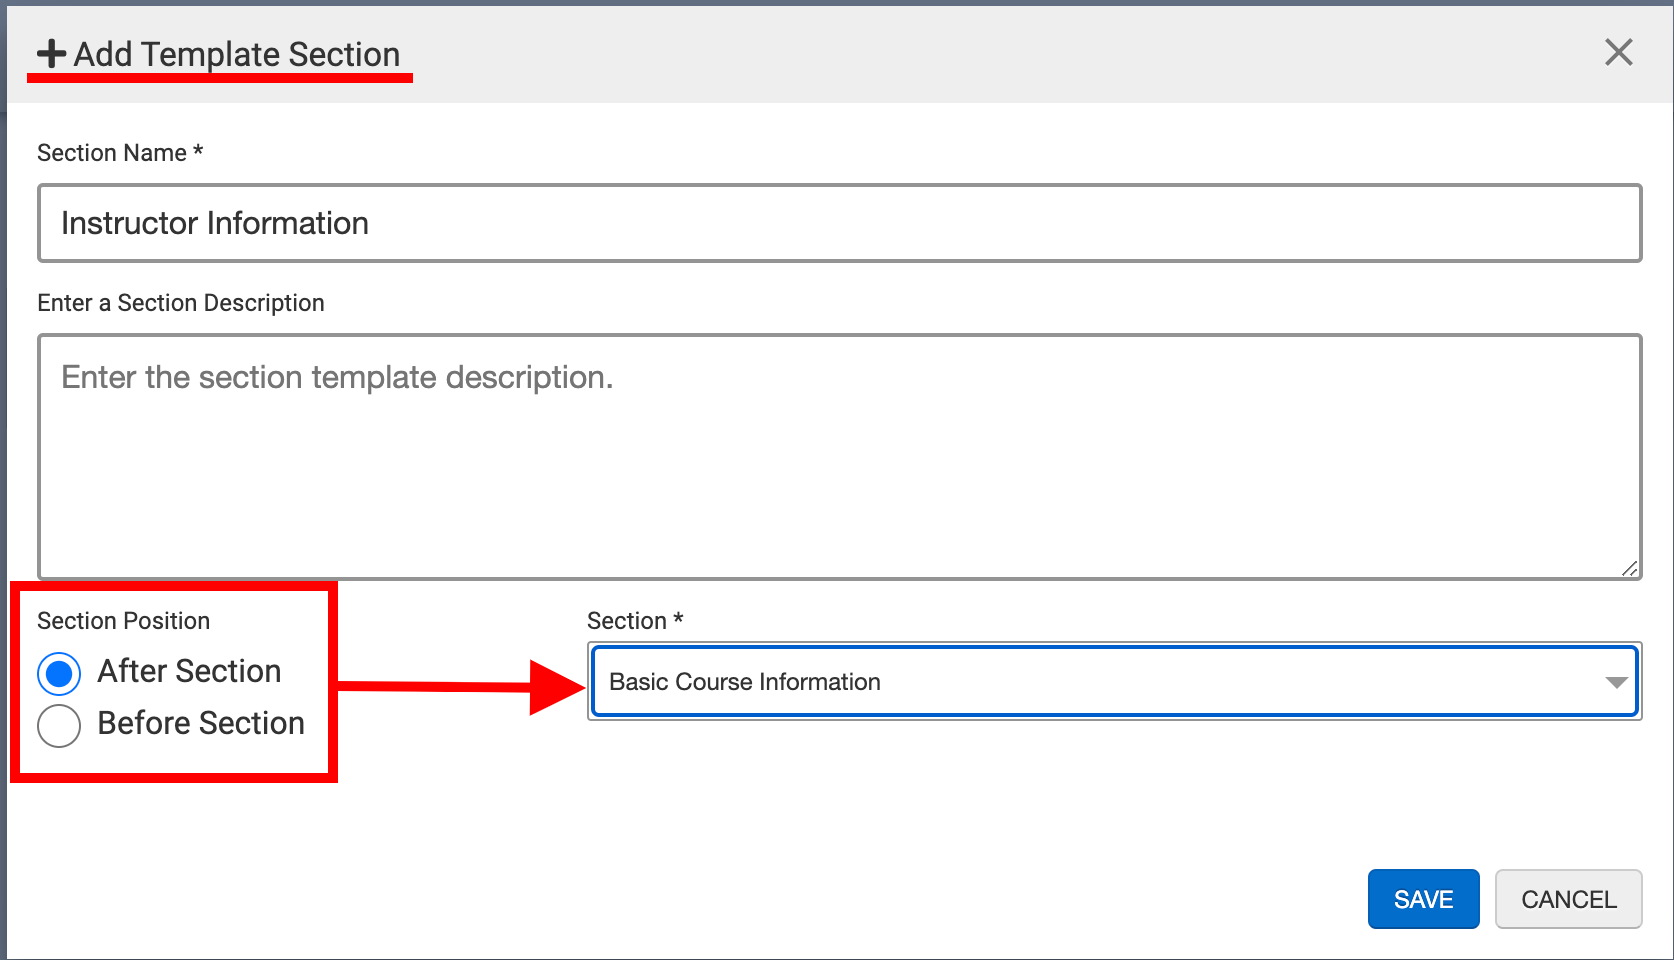
When adding multiple sections (or rearranging sections), the +Add Template Section pop-up will display an option to arrange the template section before or after an existing section. In the example below, the new section Instructor Information will be added after the existing section Basic Course Information once Save is clicked.
Syllabus Template Items
Product Tip
-
Items can only be added when sections have been added to a template.
-
For a complete list of items and their details, review the Syllabus Template Items article.
-
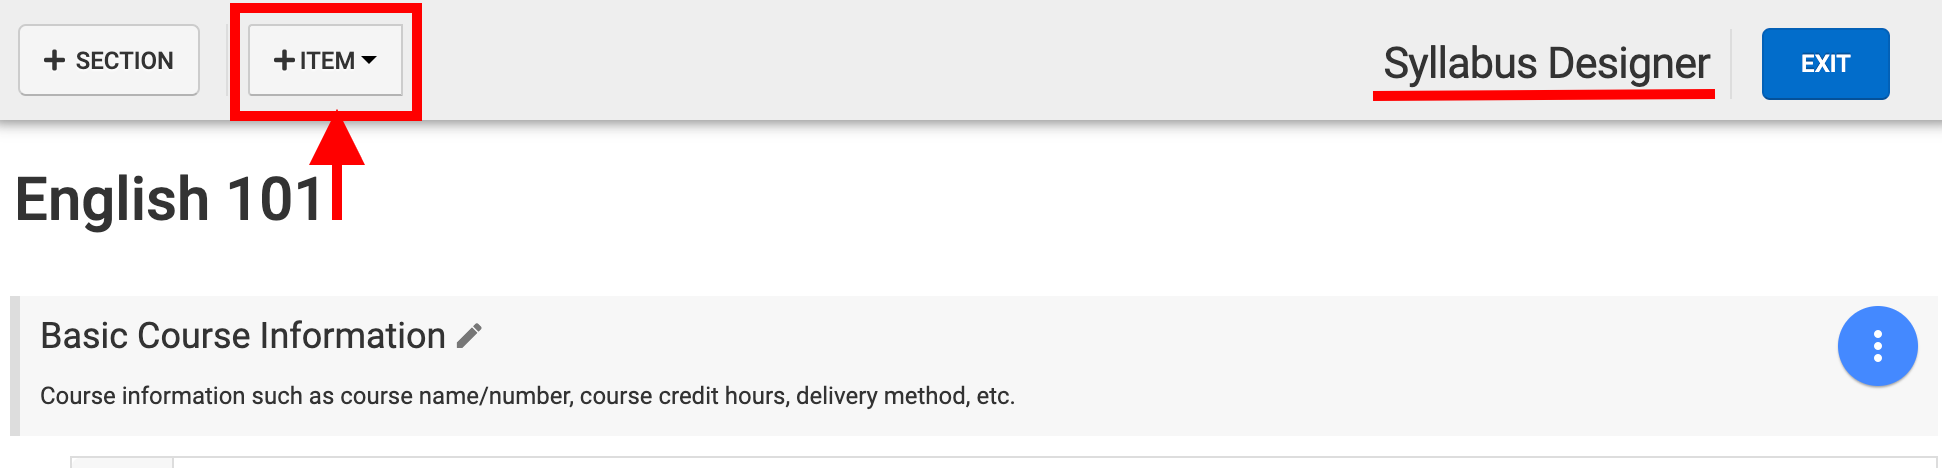
To add a template item, click +Item in the Syllabus Designer.
-
Via the +Add Template Item popup, the Name field will default to the type of item that has been selected (but can be edited as needed) and a syllabus section can be chosen to add the item to.
-
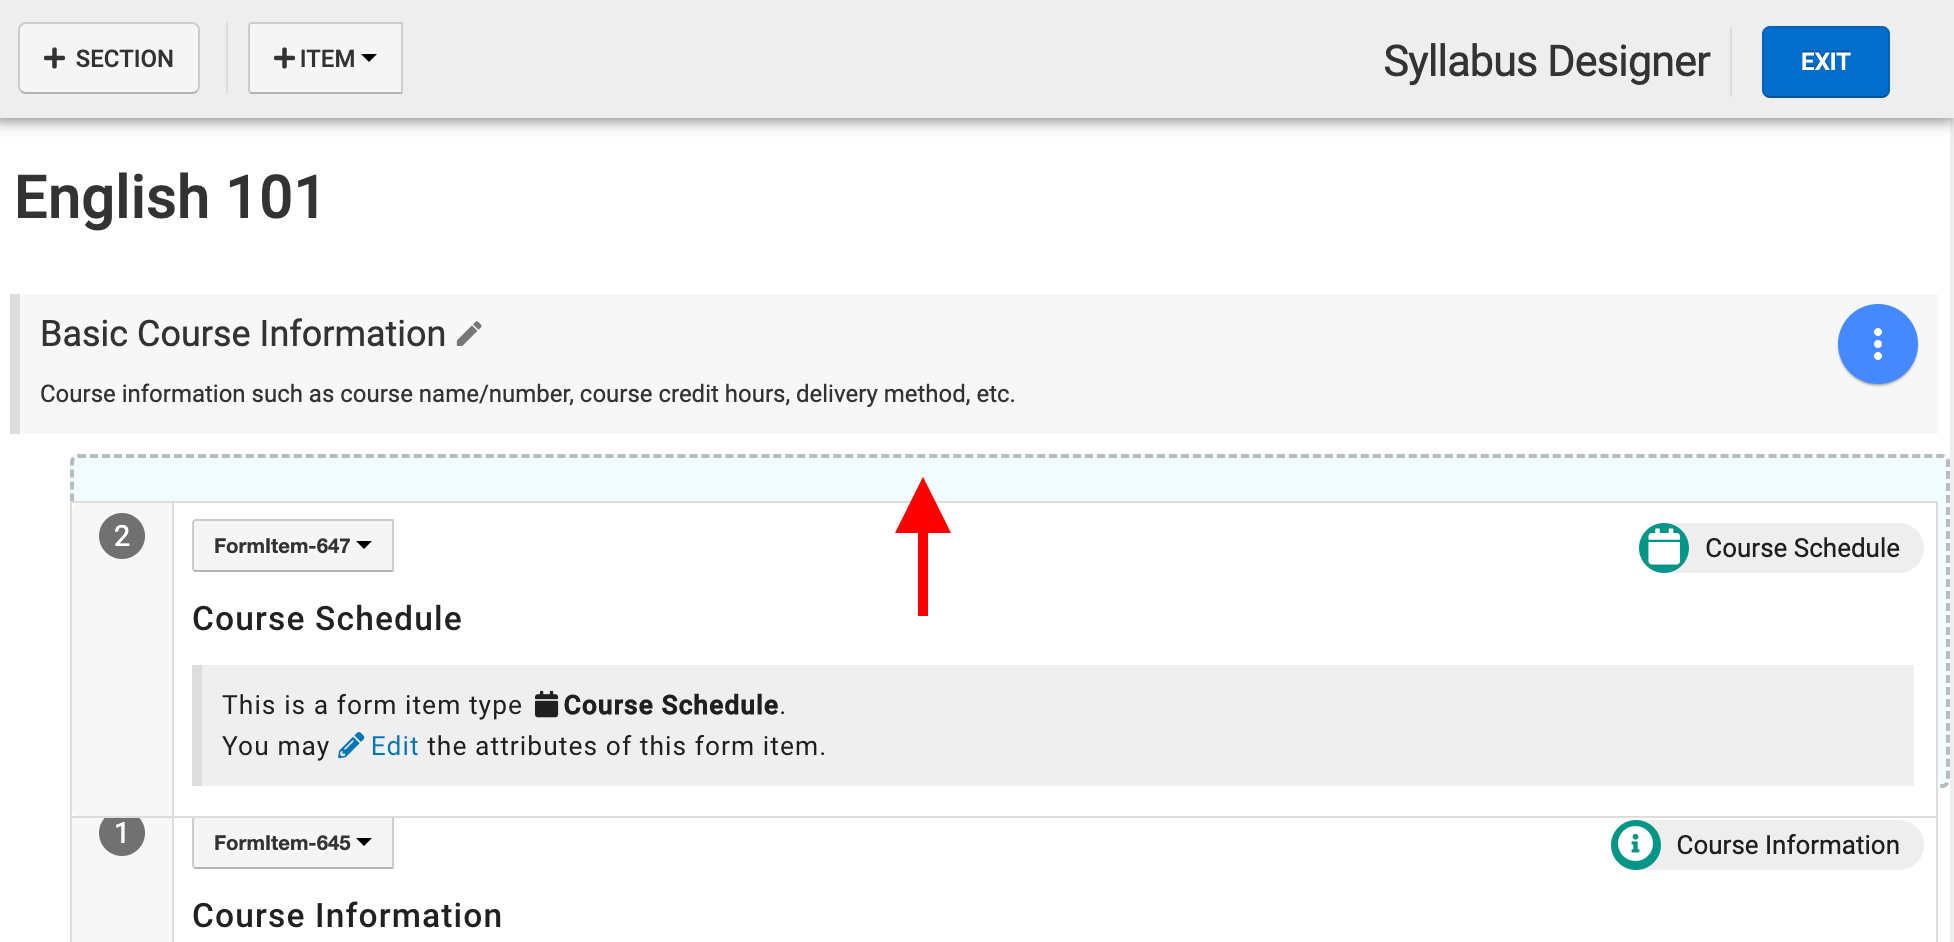
Once items have been added to the template, they can be moved to different sections as needed by drag and drop functionality. In the example below, the Course Schedule item is being dragged up which displays a blue dashed border to define where it will be placed.
To drag and drop - hover over an item, right click and hold, drag the item to the new location and release the right click.
-
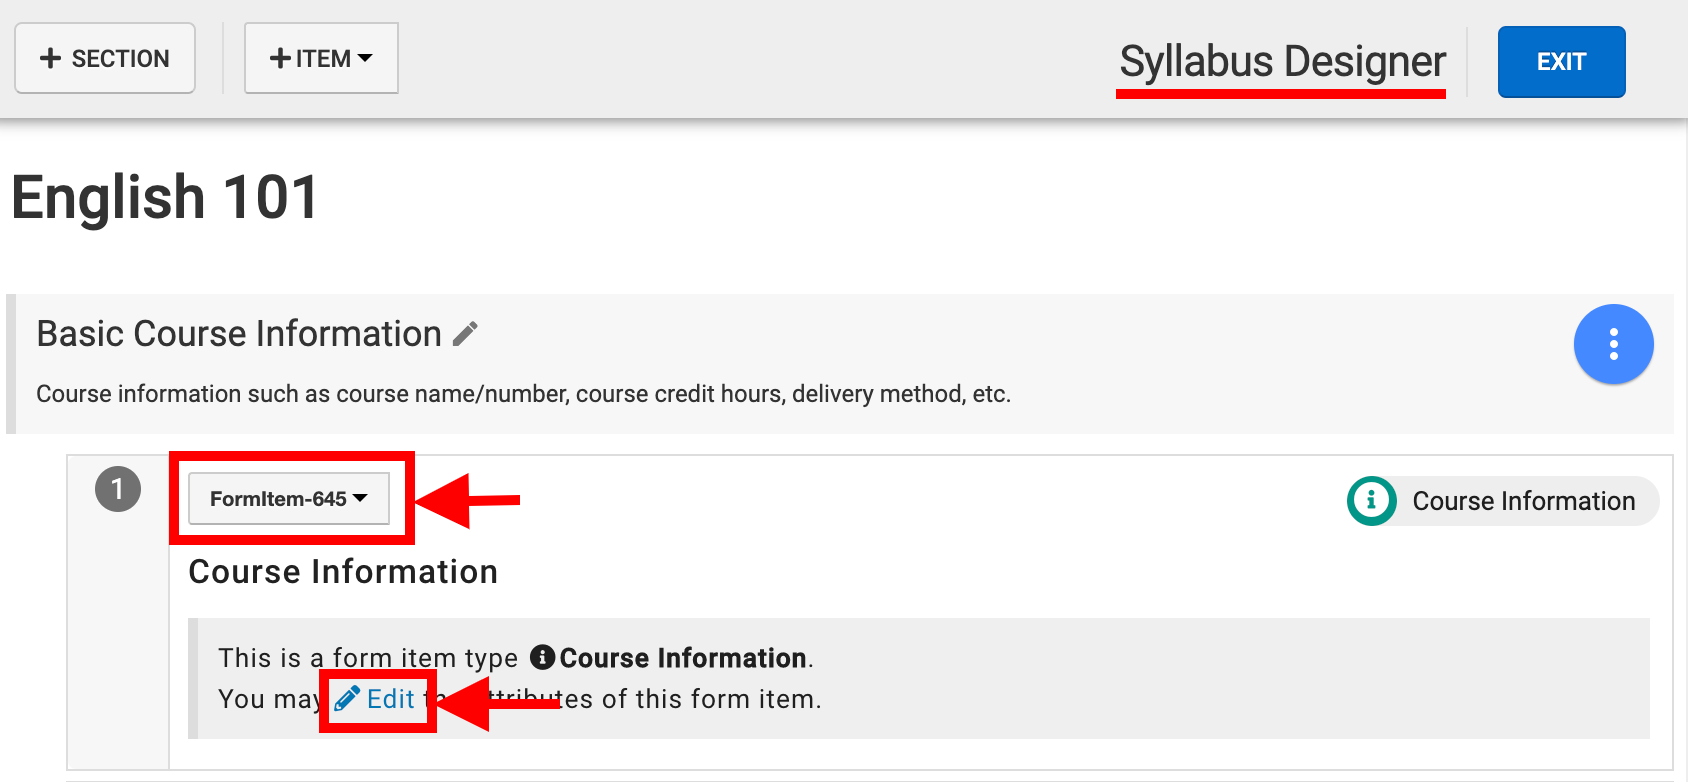
Items can be edited or deleted by clicking the form item ID or, alternately, Edit can be clicked to edit the item.
-
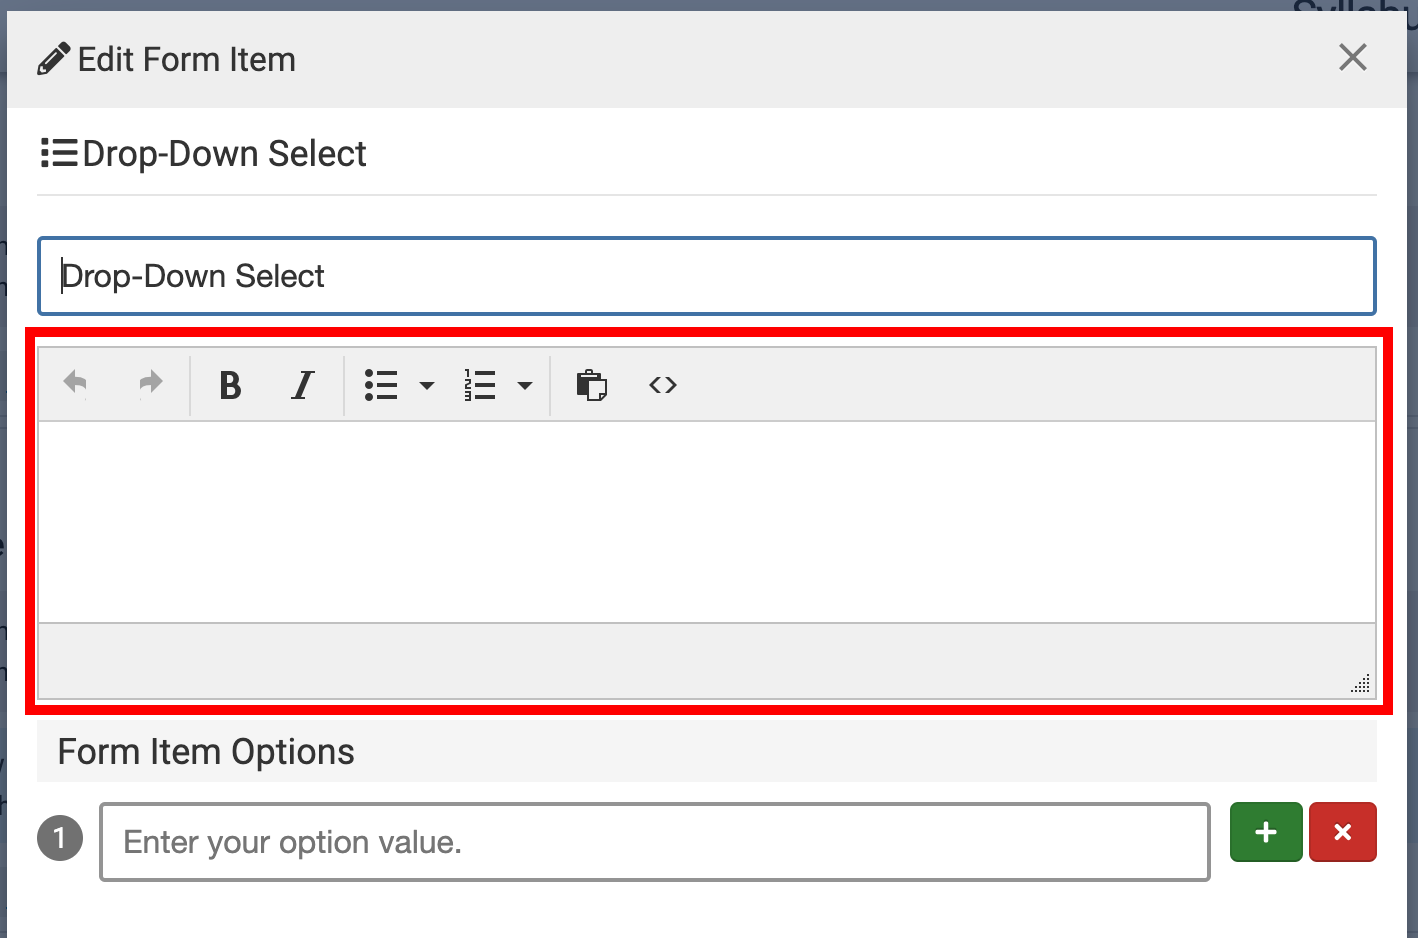
The text field for all items in the Edit Form Item popup does not display on the syllabus when viewed by students. This text field is intended to be utilized for entering instructions to faculty that will fill out a syllabus - the content in this text field will display as blue text in the Syllabus Designer only.
-
-
Finalizing a Syllabus Template
Once a Syllabus Template is complete, the Syllabus Designer can be exited by clicking Exit, and the syllabus can then be published via the Syllabus Template Homepage.
Product Tip
For a Syllabus Template to be the active template for a program or Organizational Hierachy level, it must be set as the default Syllabus Template in the Course Syllabi Settings for that program or level.
📔 Additional Resources