
📙 Knowledge Base Tip: Reading the Learning Journey, Programs, and User Accounts articles is recommended before enabling The Learning Journey.
Product Tip
The Learning Journey feature is not available by default and needs to be enabled by HelioCampus. Institutions that want this feature enabled for their test and/or production site(s) should contact Support.
The Learning Journey is enabled at the program level and can be enabled for programs in Draft, Published, and In Revision statuses. Once enabled, any Program Learning Outcomes (PLOs) that should be displayed to students can then be enabled individually. The CLR Student user role must be assigned to provide students with access to the Learning Journey functionality. Once assigned, users with the role can access full functionality and begin customizing their Learning Journey.
Upon login, CLR users will see the Learning Journey dashboard, and the original Assessment Management dashboard will be inaccessible until the CLR Student role is unassigned from a user. Although the original dashboard is no longer displayed, action items from the original dashboard will still be displayed to CLR users in the Learning Journey dashboard
Enabling Per Program & Outcome
-
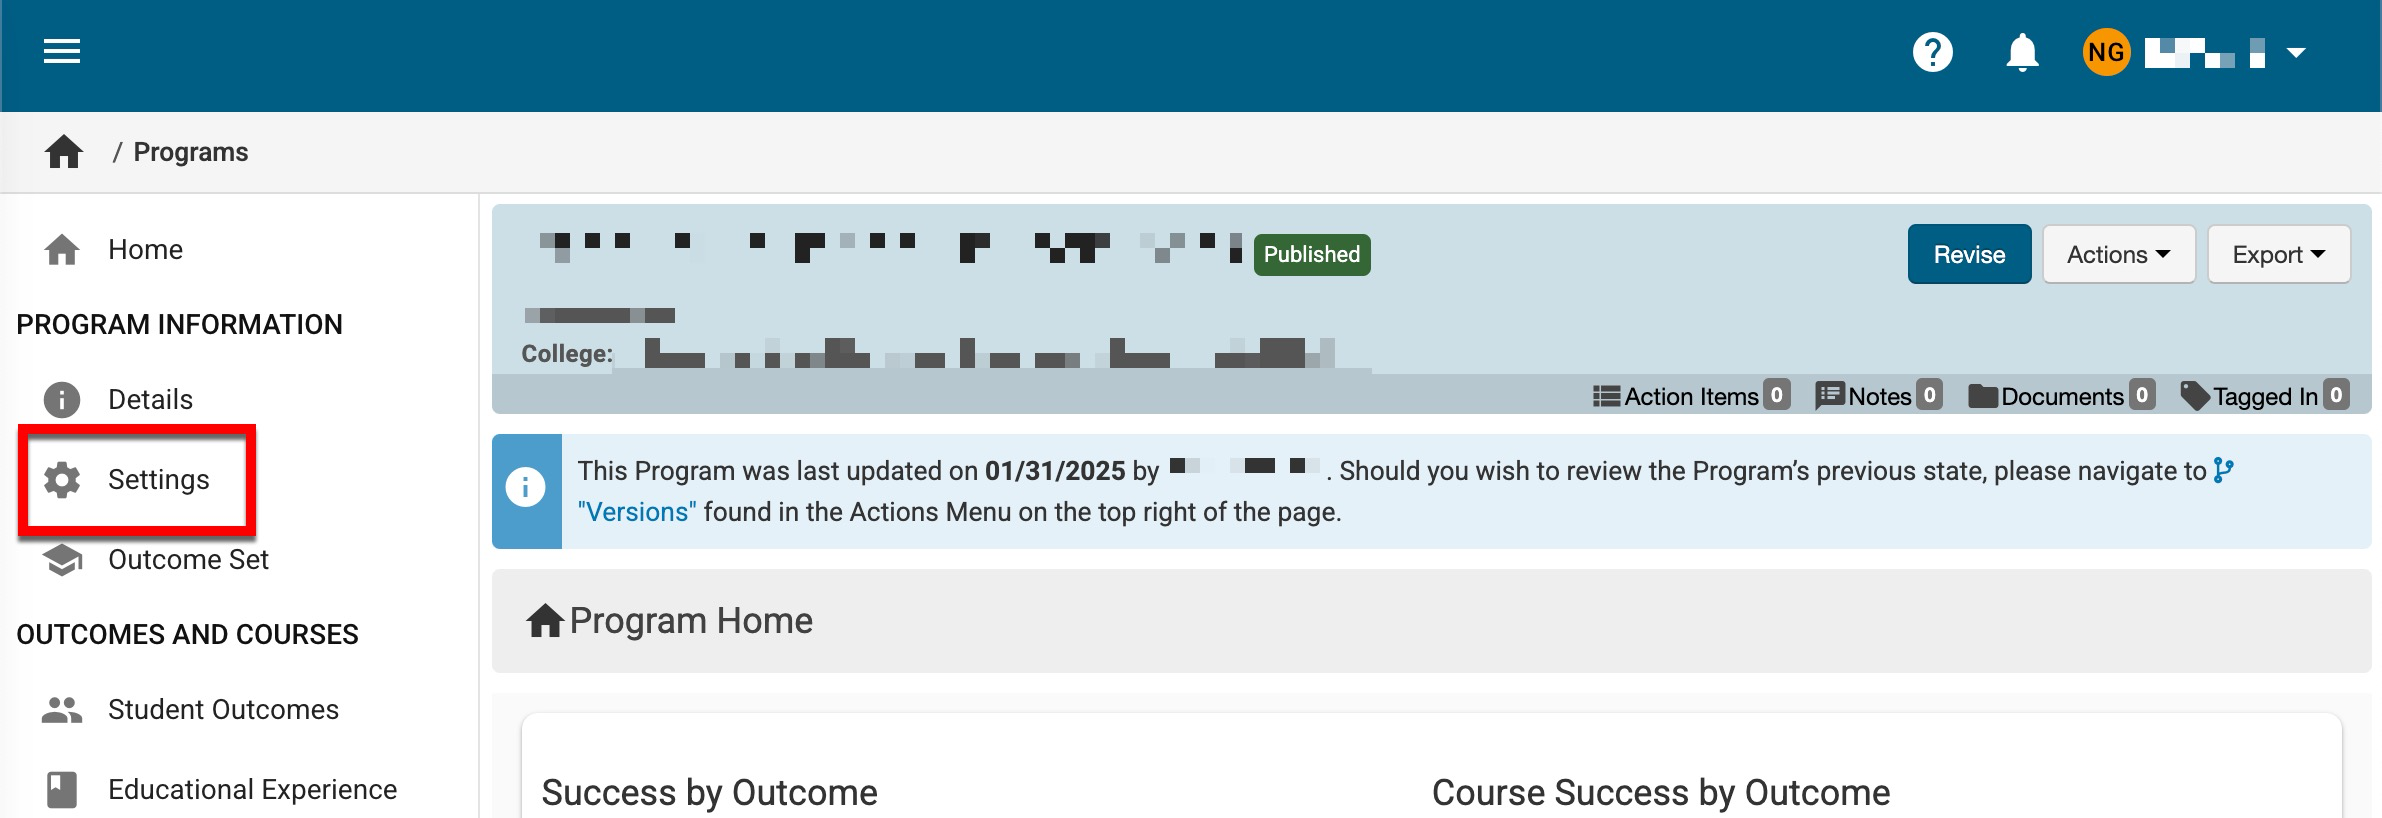
To enable the Learning Journey functionality for a program, navigate to the Program Homepage and select Settings from the left-hand menu.
-
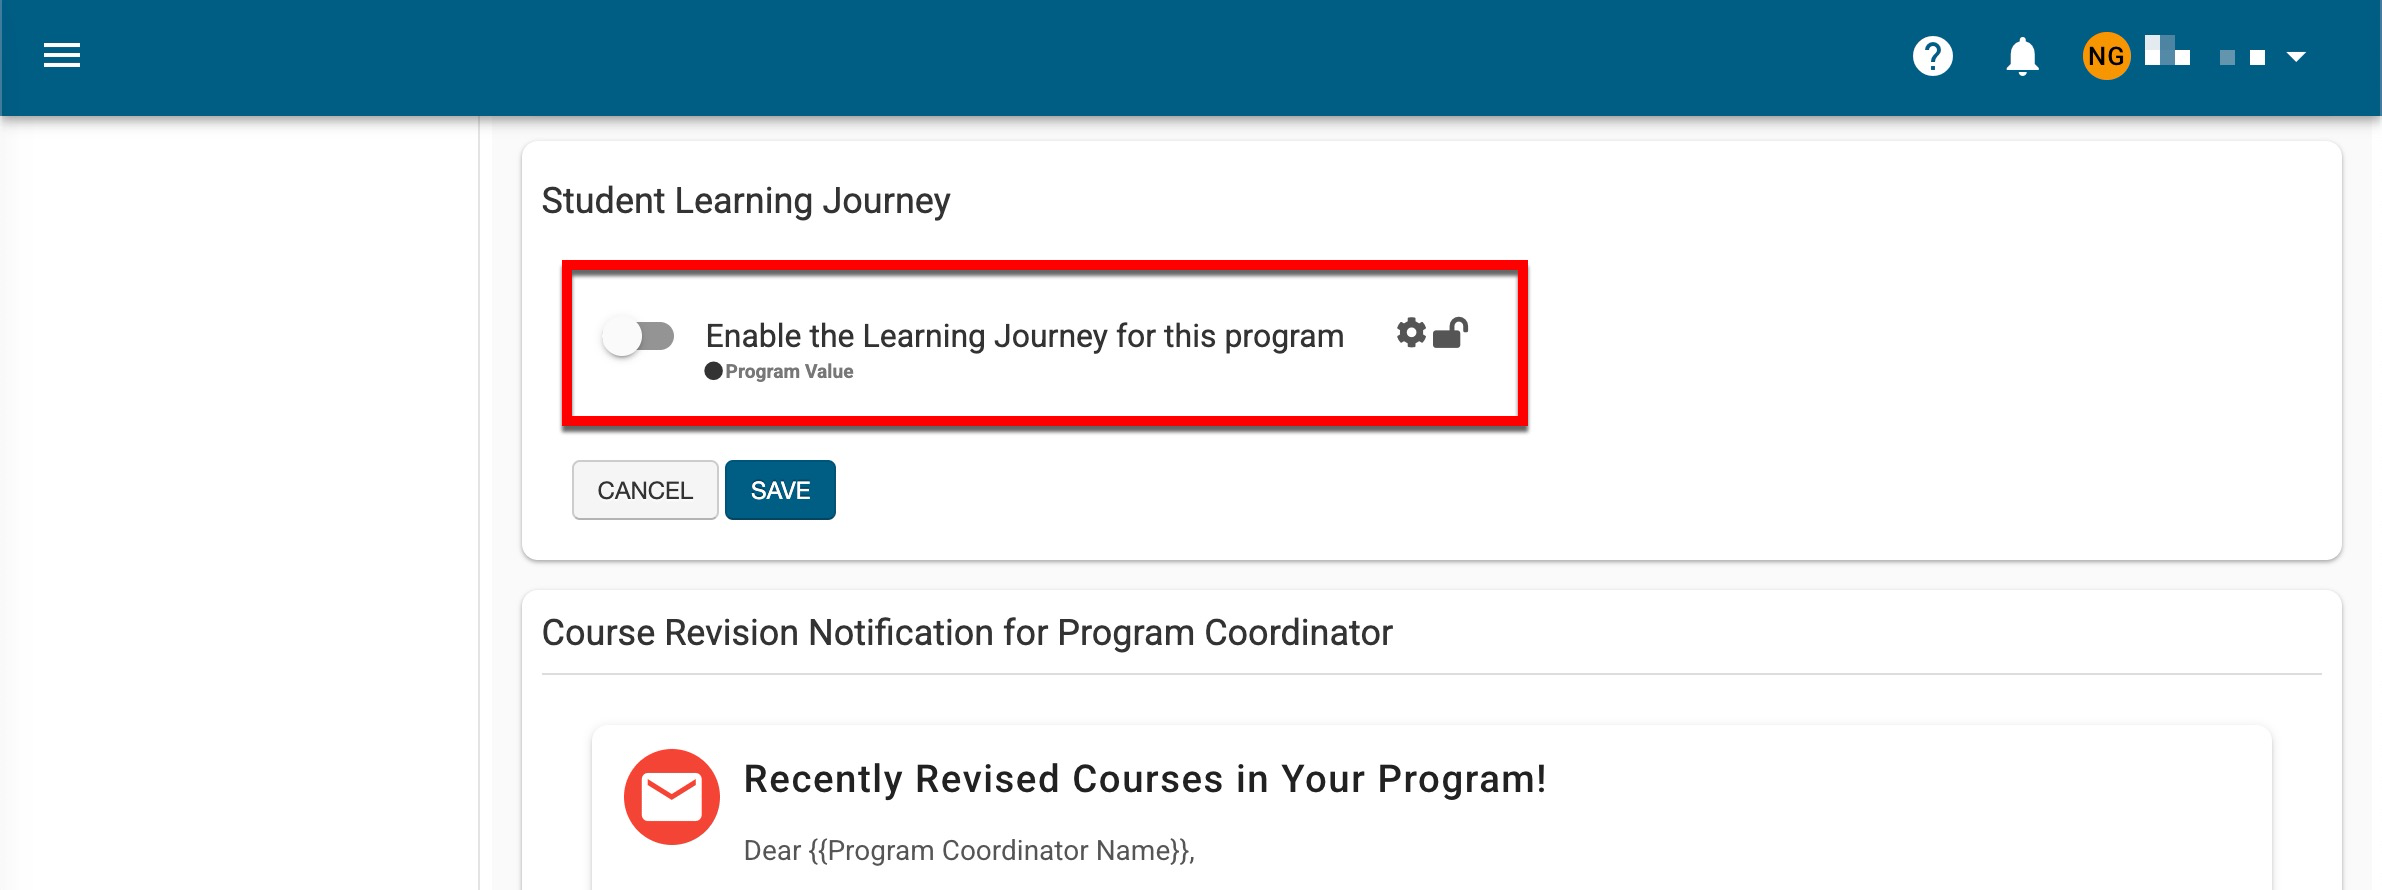
Toggle on the Enable The Learning Journey for This Program setting.
-
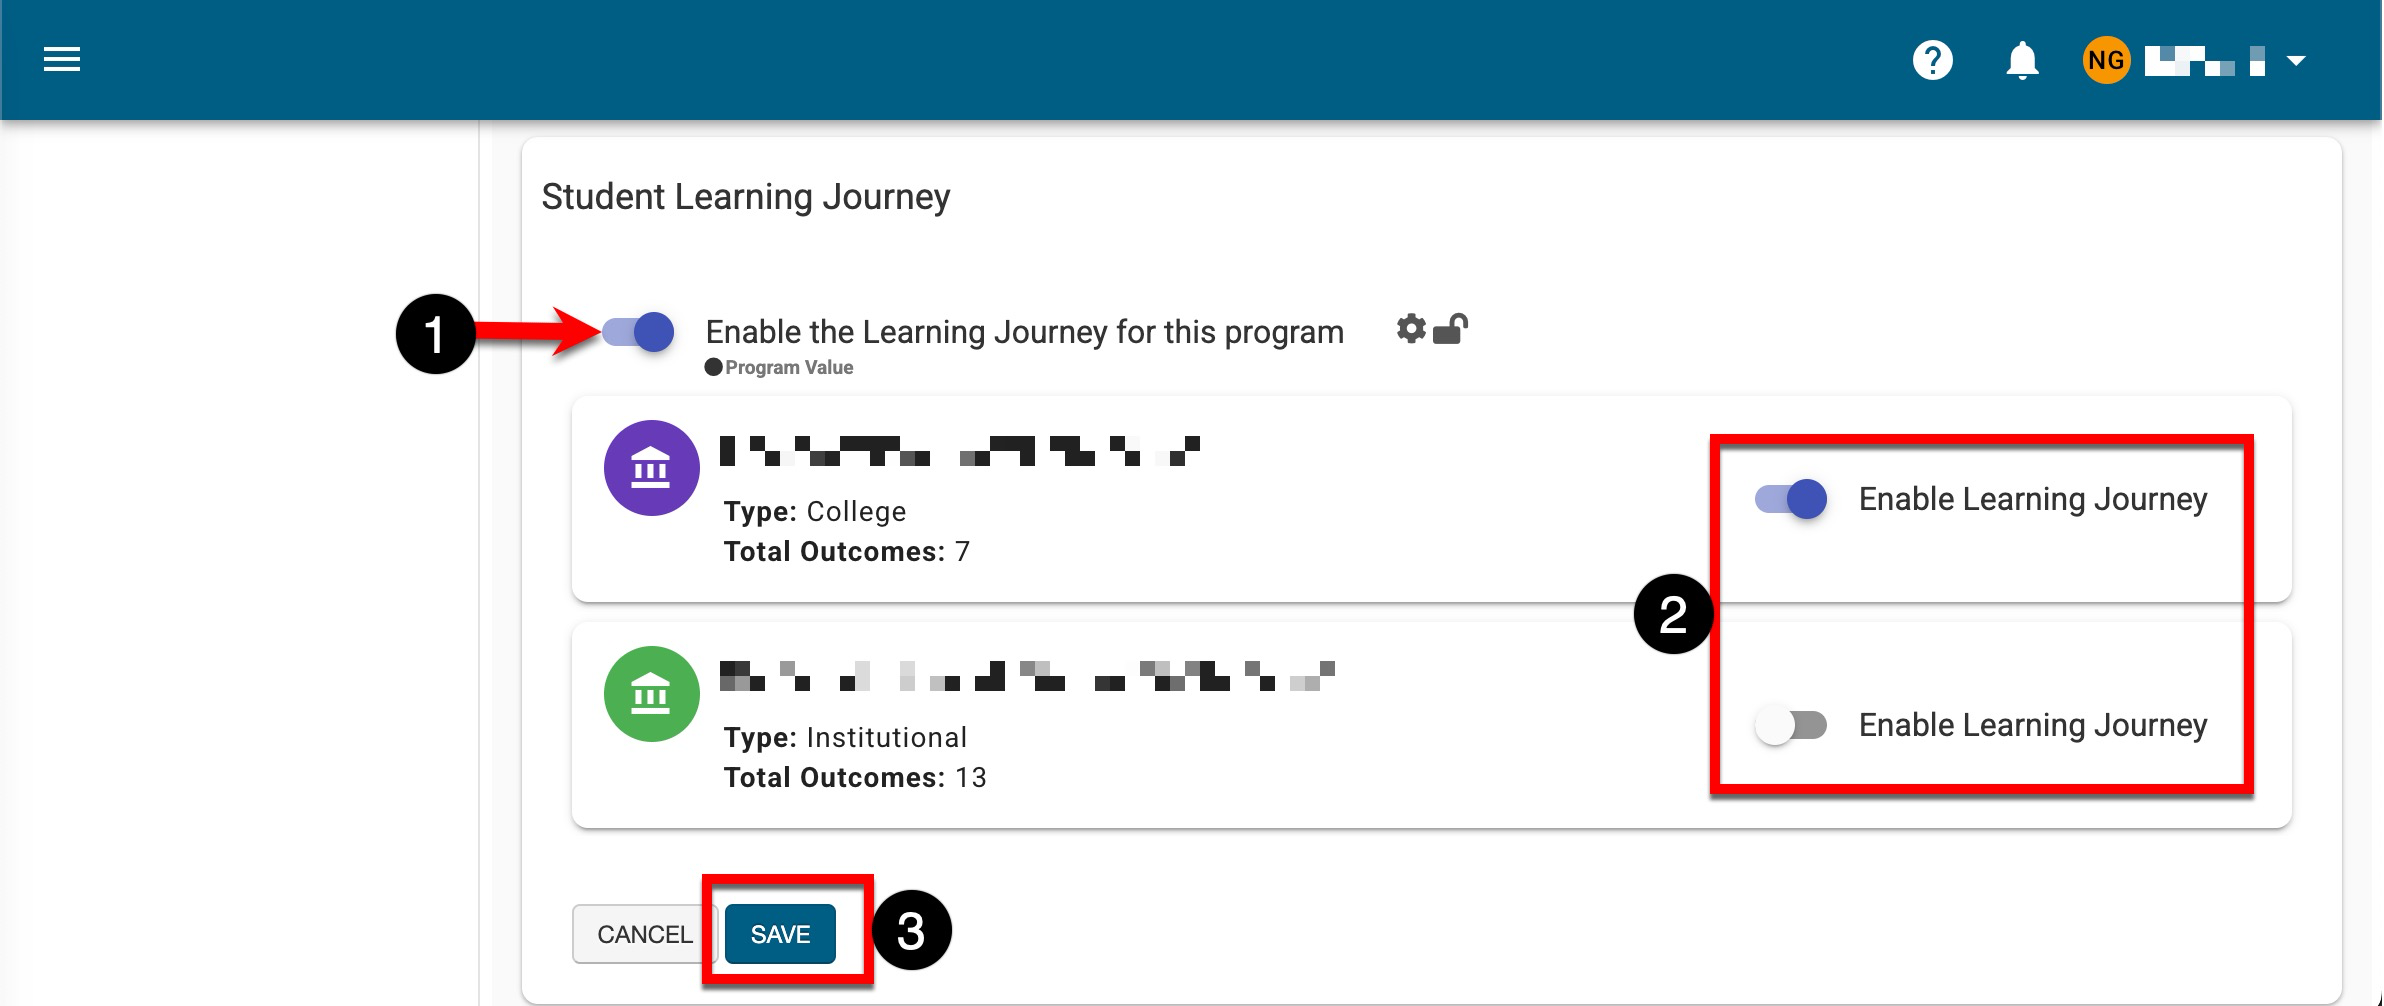
Once enabled (1), PLOs will display and can be enabled individually (2). Enabled PLOs will be available to students as skills within The Learning Journey. Clicking Save (3) will enable the Learning Journey for the program and the selected PLOs. Learn more about Skills.
-
Assigning Student Access
Student access to the Learning Journey functionality is provisioned by assigning the CLR Student role. Roles can be individually assigned to users through the process outlined in this section or in bulk via a template export and import process. Learn more.
-
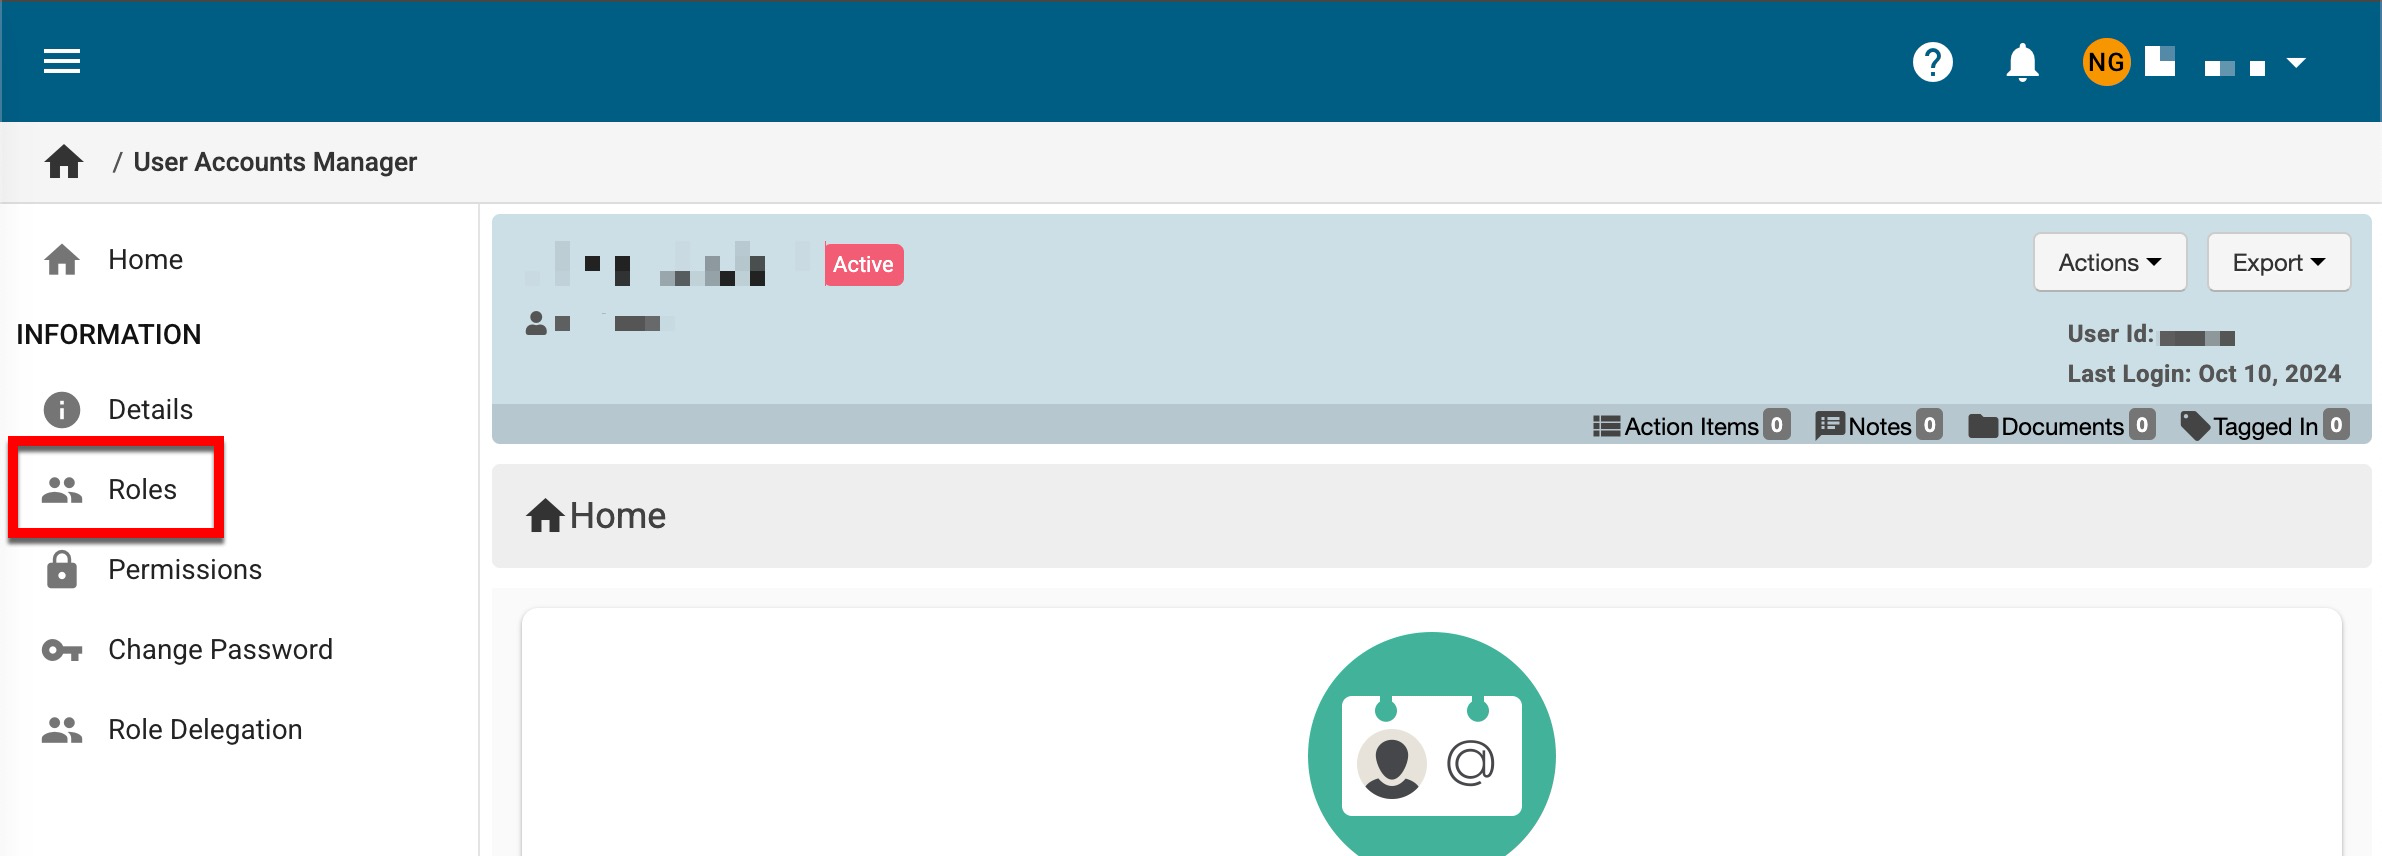
To enable student access to The Learning Journey functionality, navigate to the Student Homepage and select Roles from the left-hand menu.
-
Via the Roles page, select General from the Category dropdown; from the Roles dropdown, select CLR Student (1). Click Add Role (2), then Save (3) to add the CLR role to the student.

-
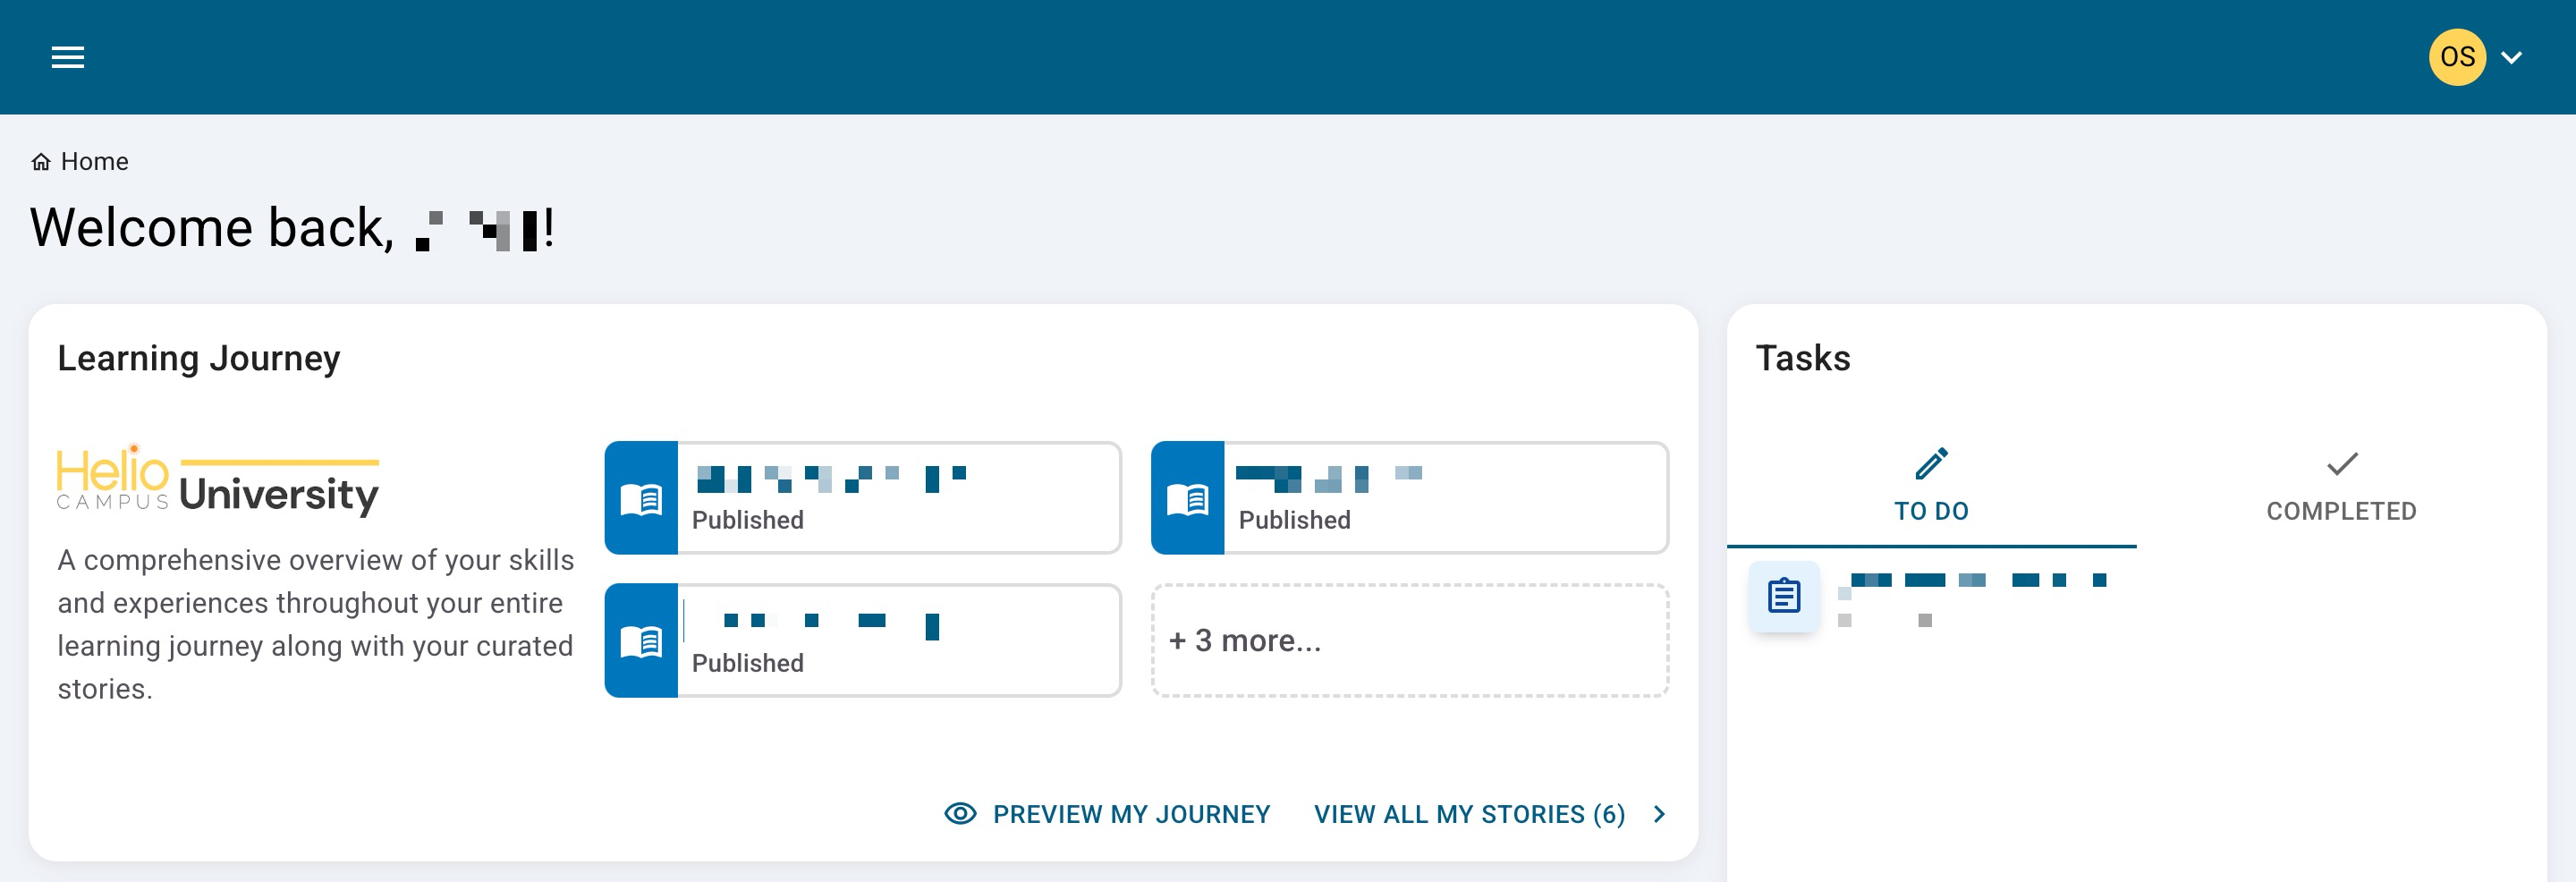
Once the CLR Student role has been assigned, upon login, the student will see the Learning Journey Dashboard and have access to associated functionality via the Main Menu. Learn more about the Learning Journey Dashboard.
-
Product Tip
Administrative roles can log in as students to see the Learning Journey Dashboard and associated functionality from the student’s perspective. Learn more about logging in as a user.