
📙 Knowledge Base Tip: It is recommended to review the Data Sets article before creating a Data Set.
Product Tip
The platform will process up to three data sets at a time. If three data sets are already in progress, a pop-up will display indicating the data set names and users who created them. Creation and processing of additional data sets can continue after one or more in-progress data sets have completed processing.
-
To create a Data Set, navigate to Main Menu > Analytics > Data Sets and click + New Data Set to open the Create a Data Set drawer.
-
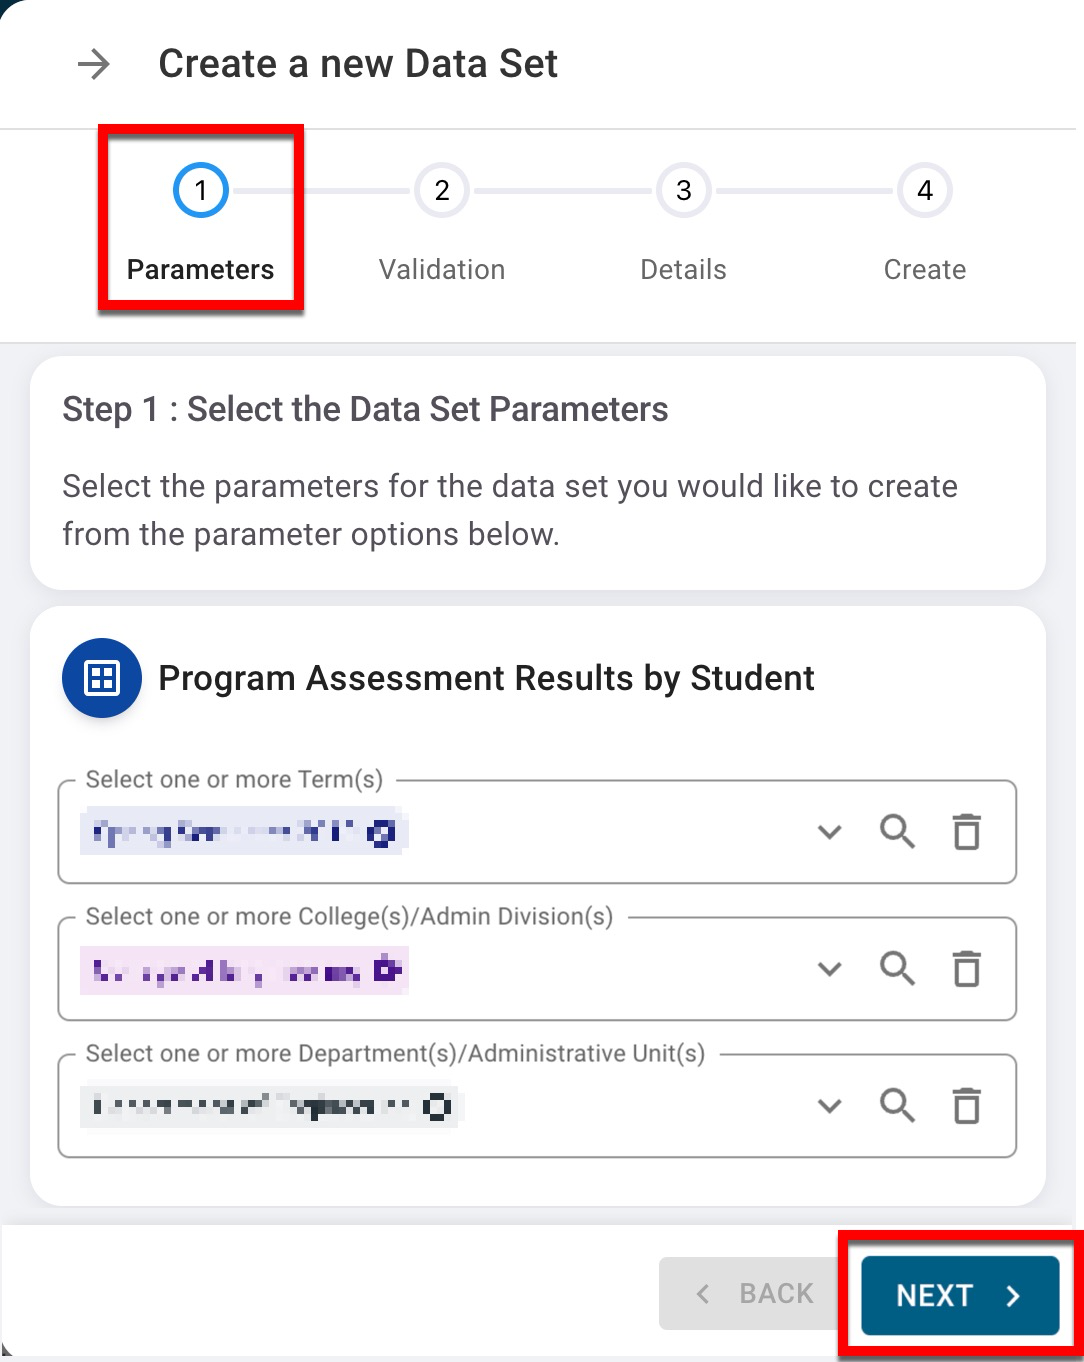
Via the Parameters step, one or more terms, Colleges/Administrative Division, and Department/Administrative Units can be selected as parameters for the Data Set. Once parameters have been configured, Next can be clicked.
-
The Validation step will analyze the data compiled from the selected parameters and create the Data Set. Once the analysis is complete, click Next to define the name, description, and file name for the Data Set via the Details step and click Next.
💡 Product tip
At this time, Datasets with more than 500,000 rows cannot be produced. To narrow the scope of a Dataset, click Back and remove a Term(s) or College(s)/Administrative Division(s).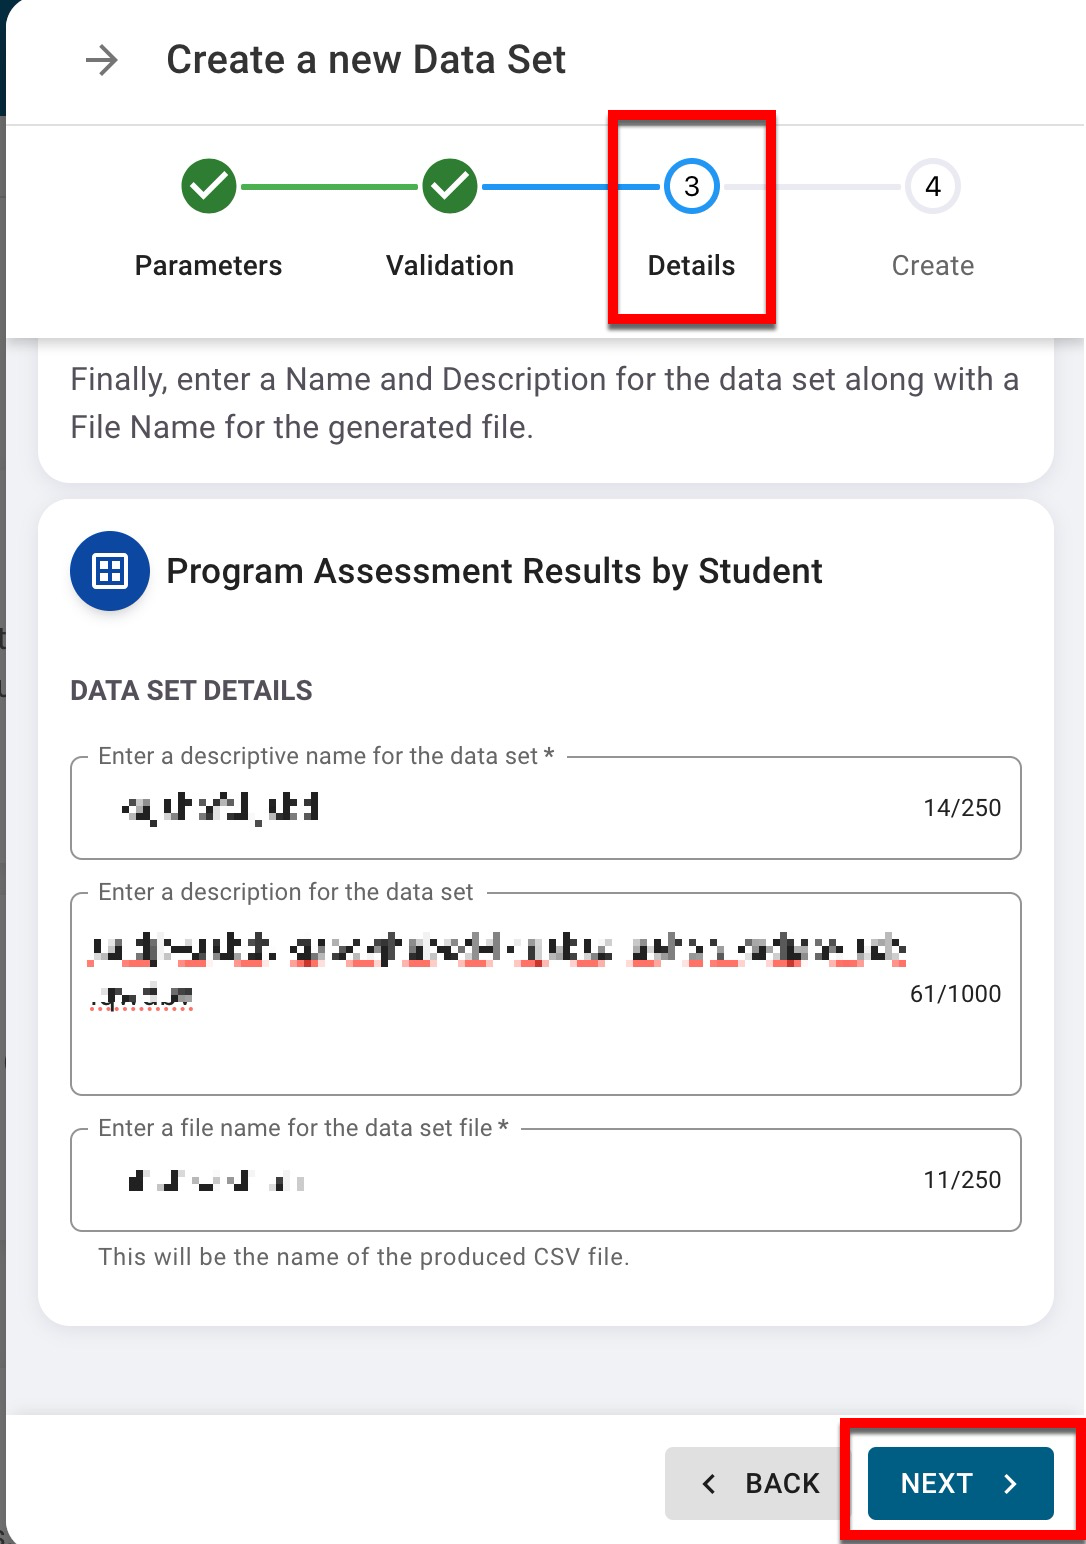
-
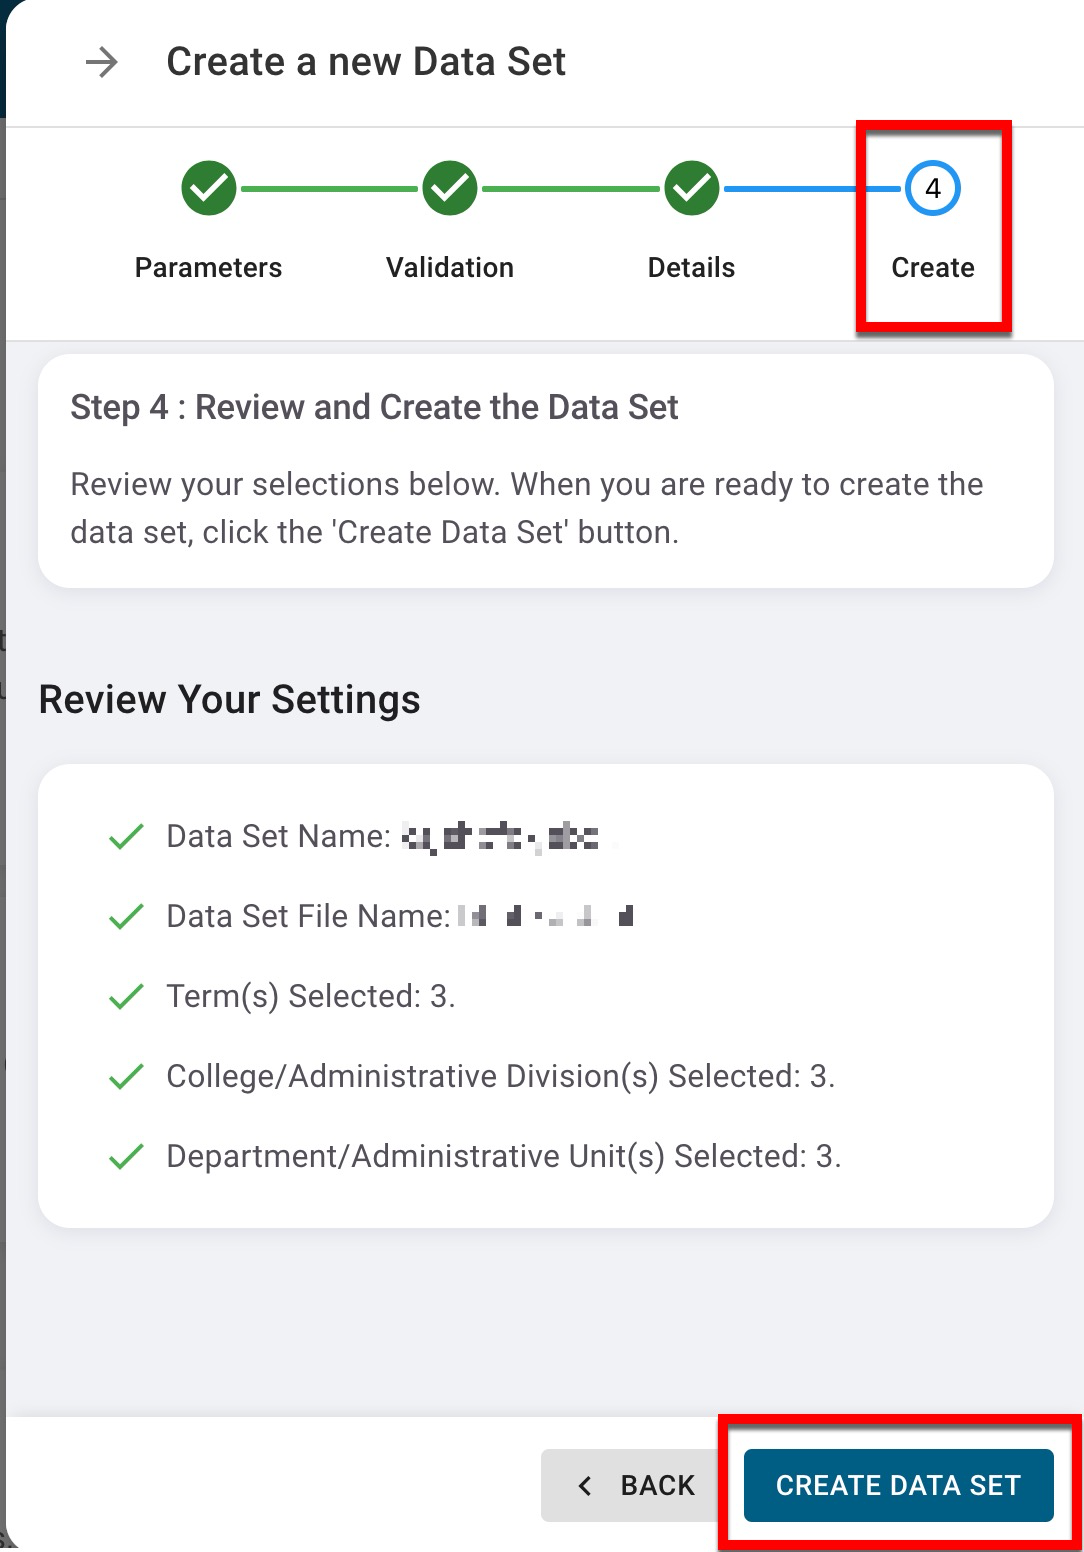
The configuration of the Data Set can be reviewed; to make changes, Back can be clicked to return to the Settings and Parameters steps as needed. Once the review is complete, click Create Data Set.
-
-
Once a Data Set has been created, it will be displayed on the My Data Sets page and can be downloaded once the status is Completed.
Product Tip
Users will receive an email notification once a Data Set they created has been processed and is available in the platform. This email notification is configured by Institution Admins via the Data Set Notifications section of the Other Notifications page accessed via the Institution Homepage.